

Deve's Technical Network
1947-1955 1st Chevy Trucks
216/235/261 Engine Solutions & More
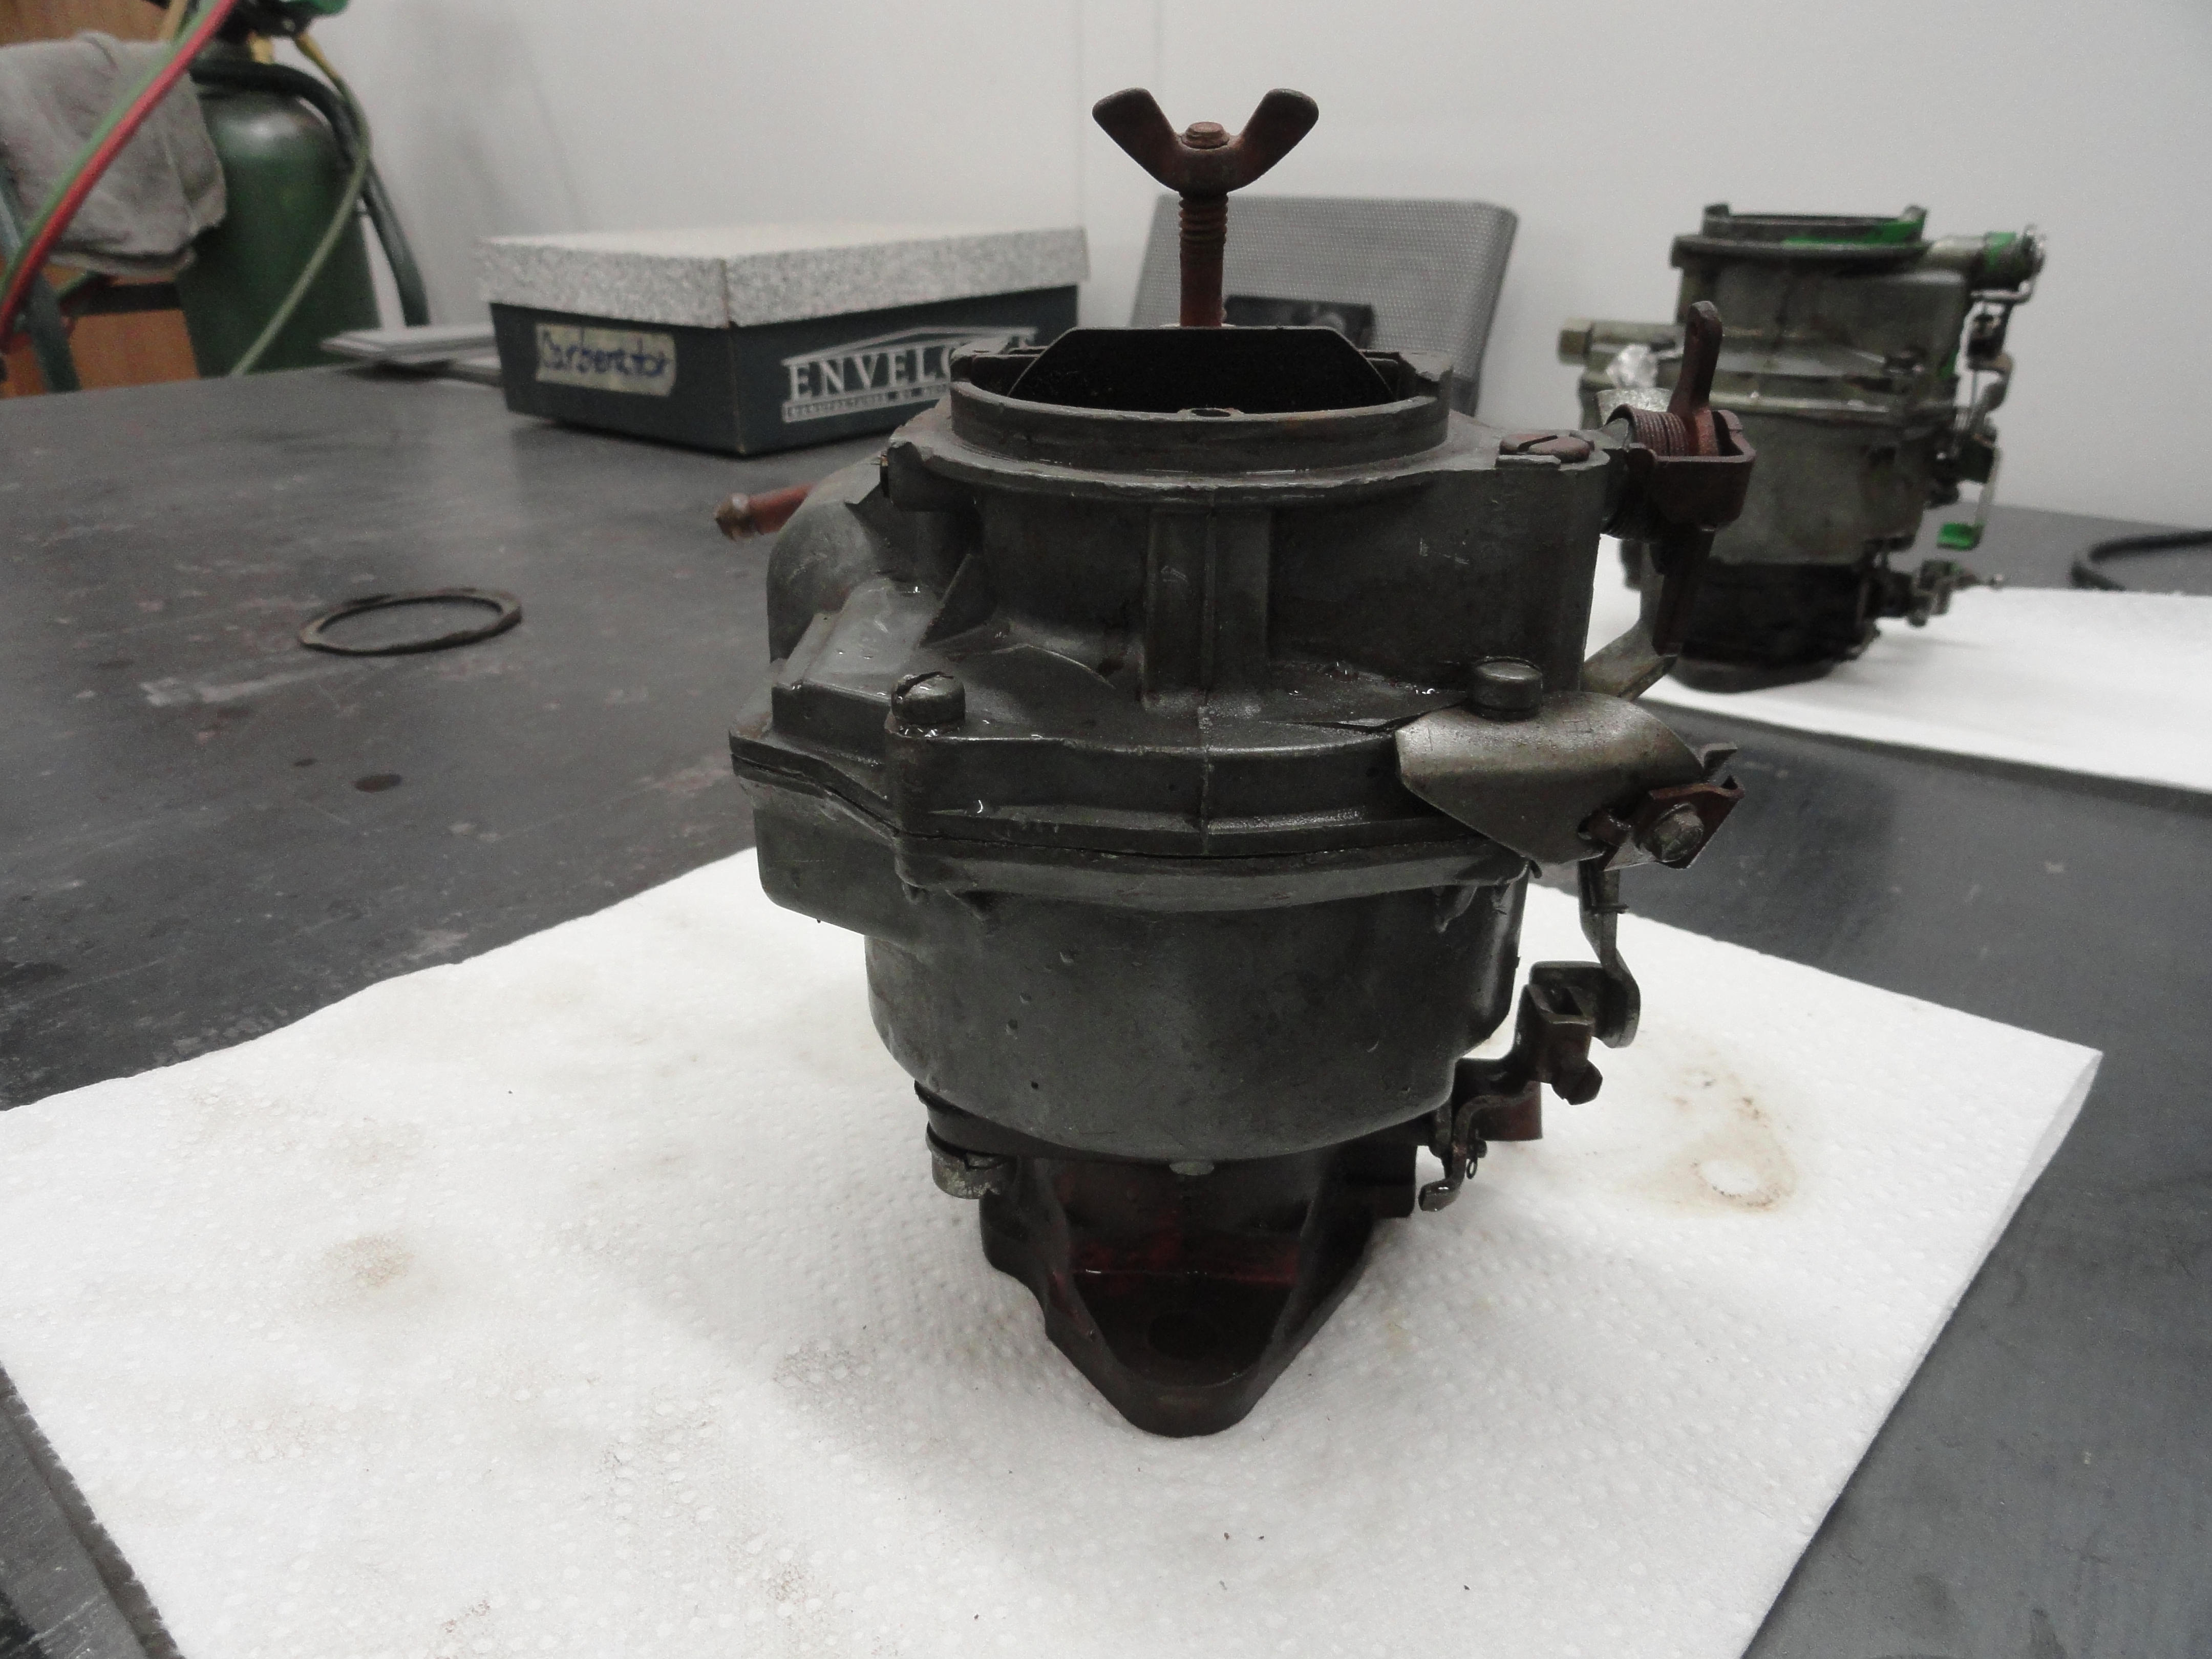
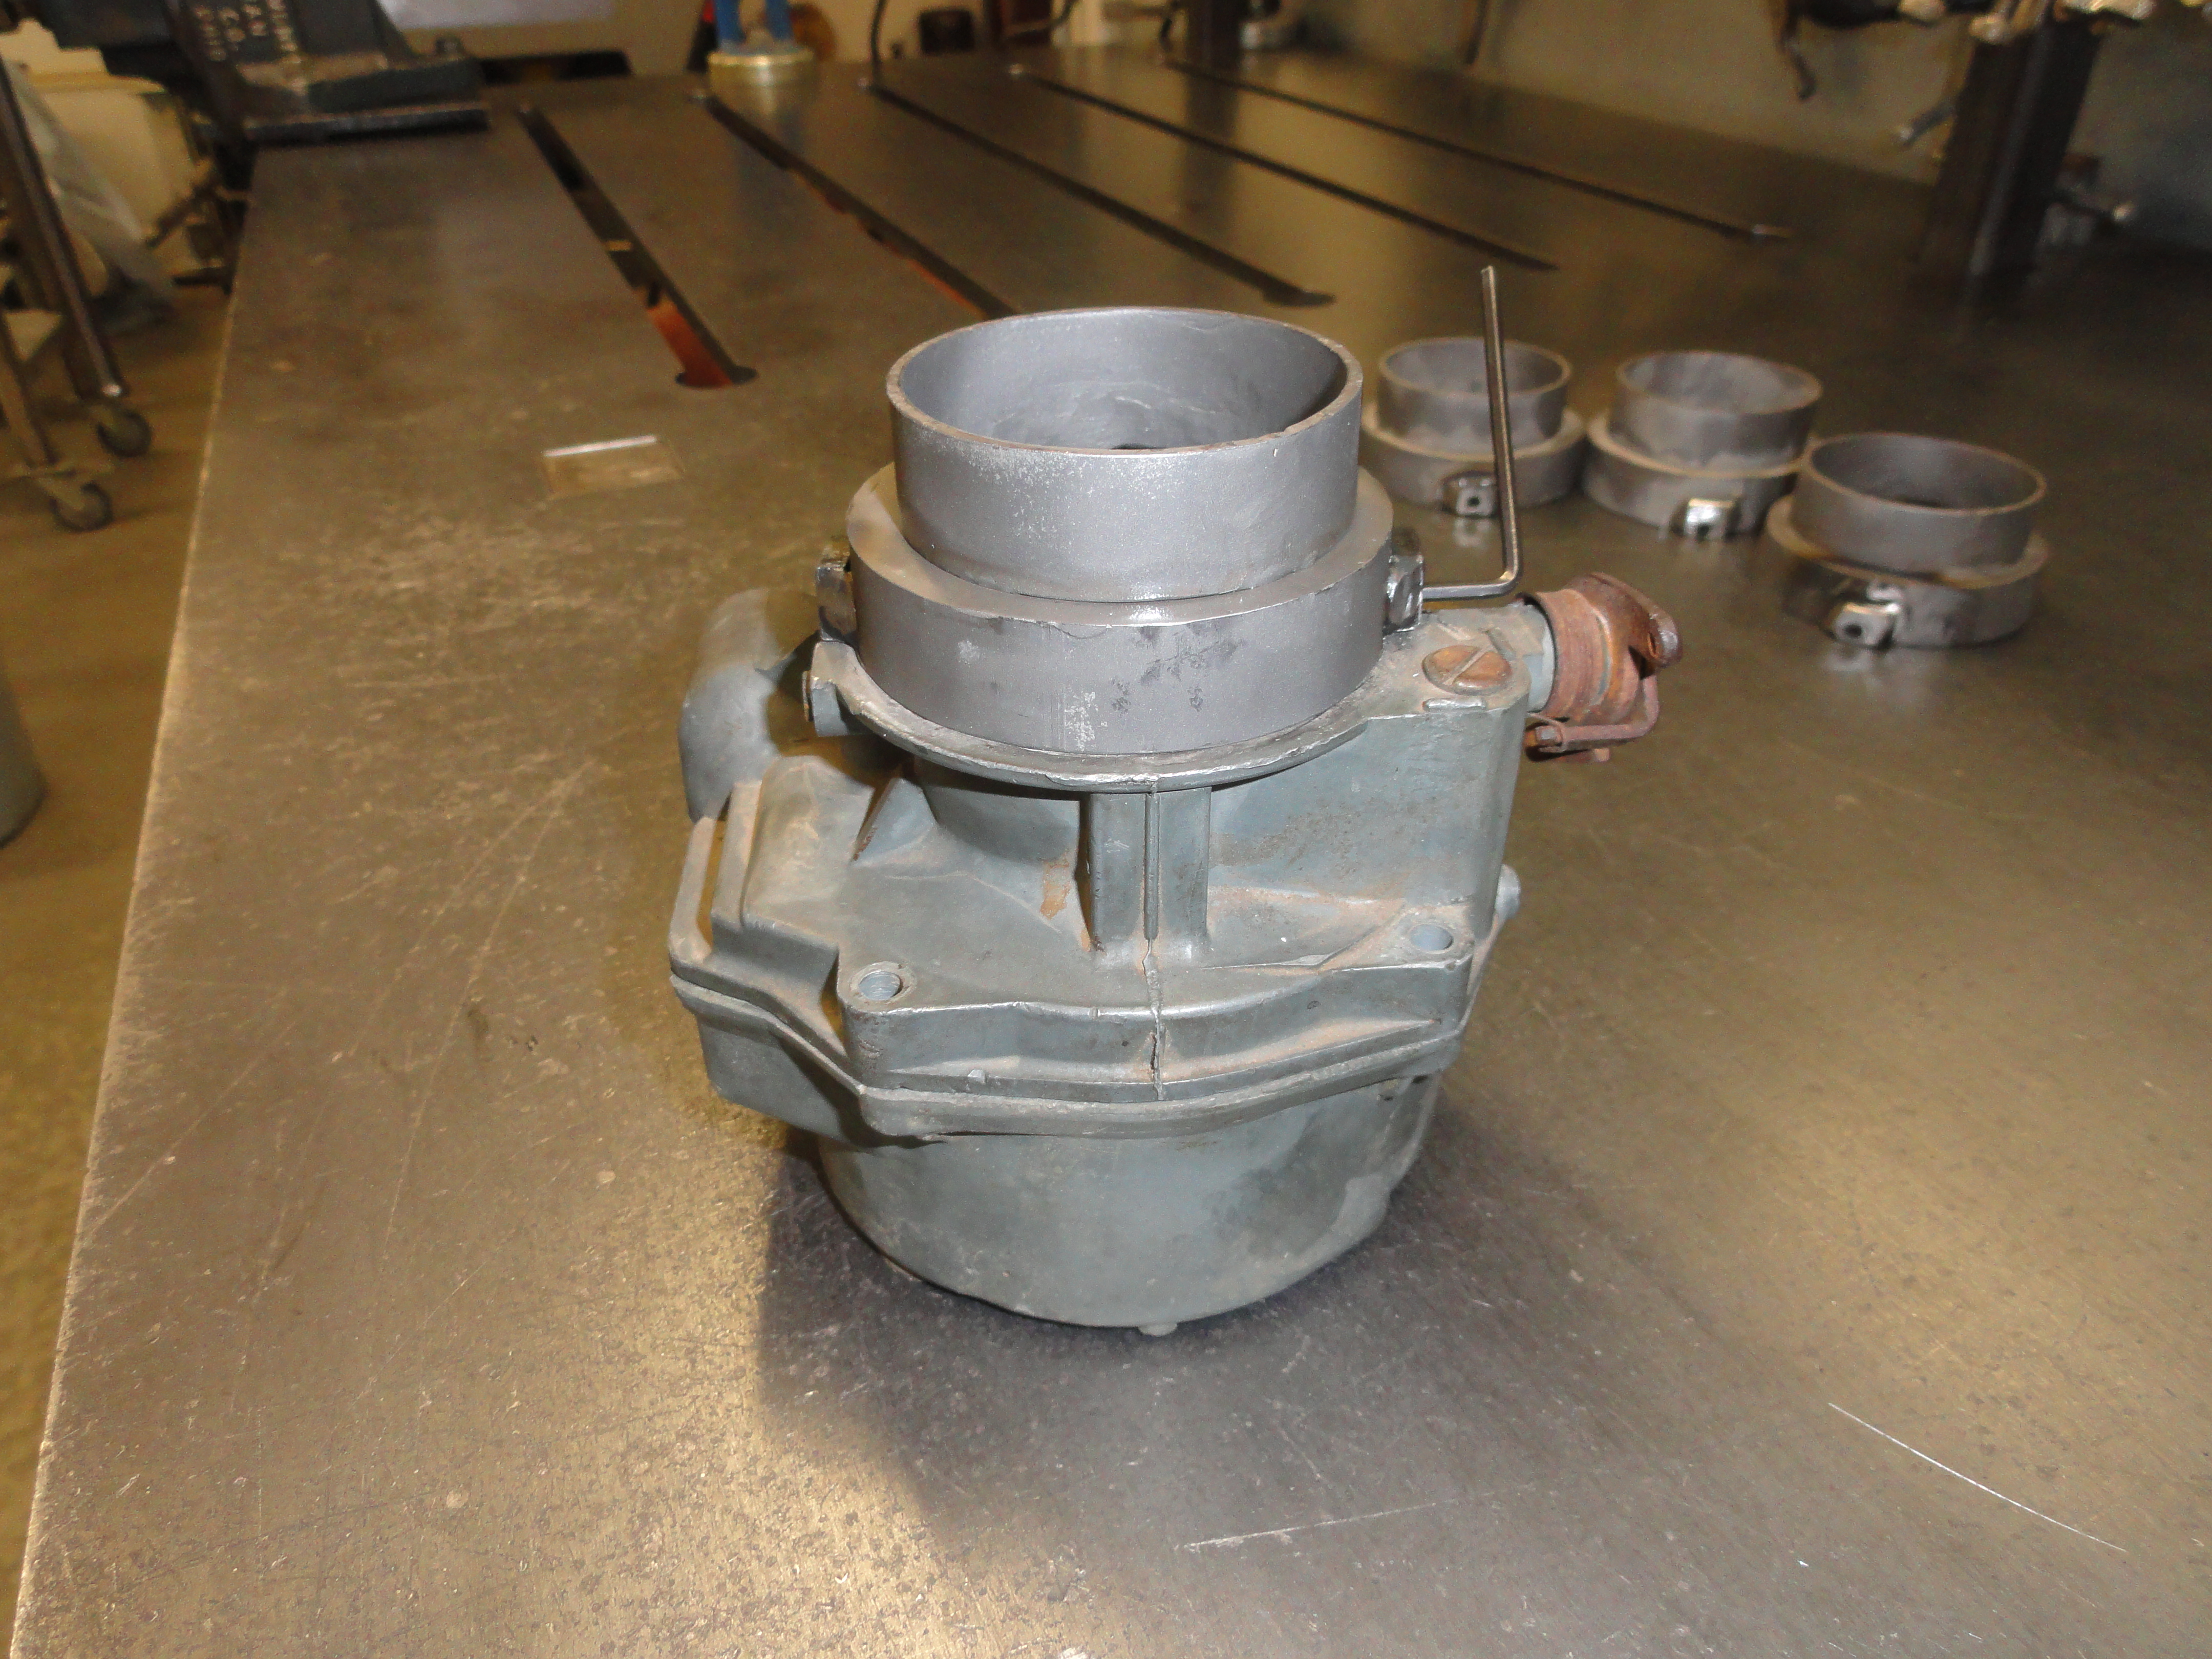
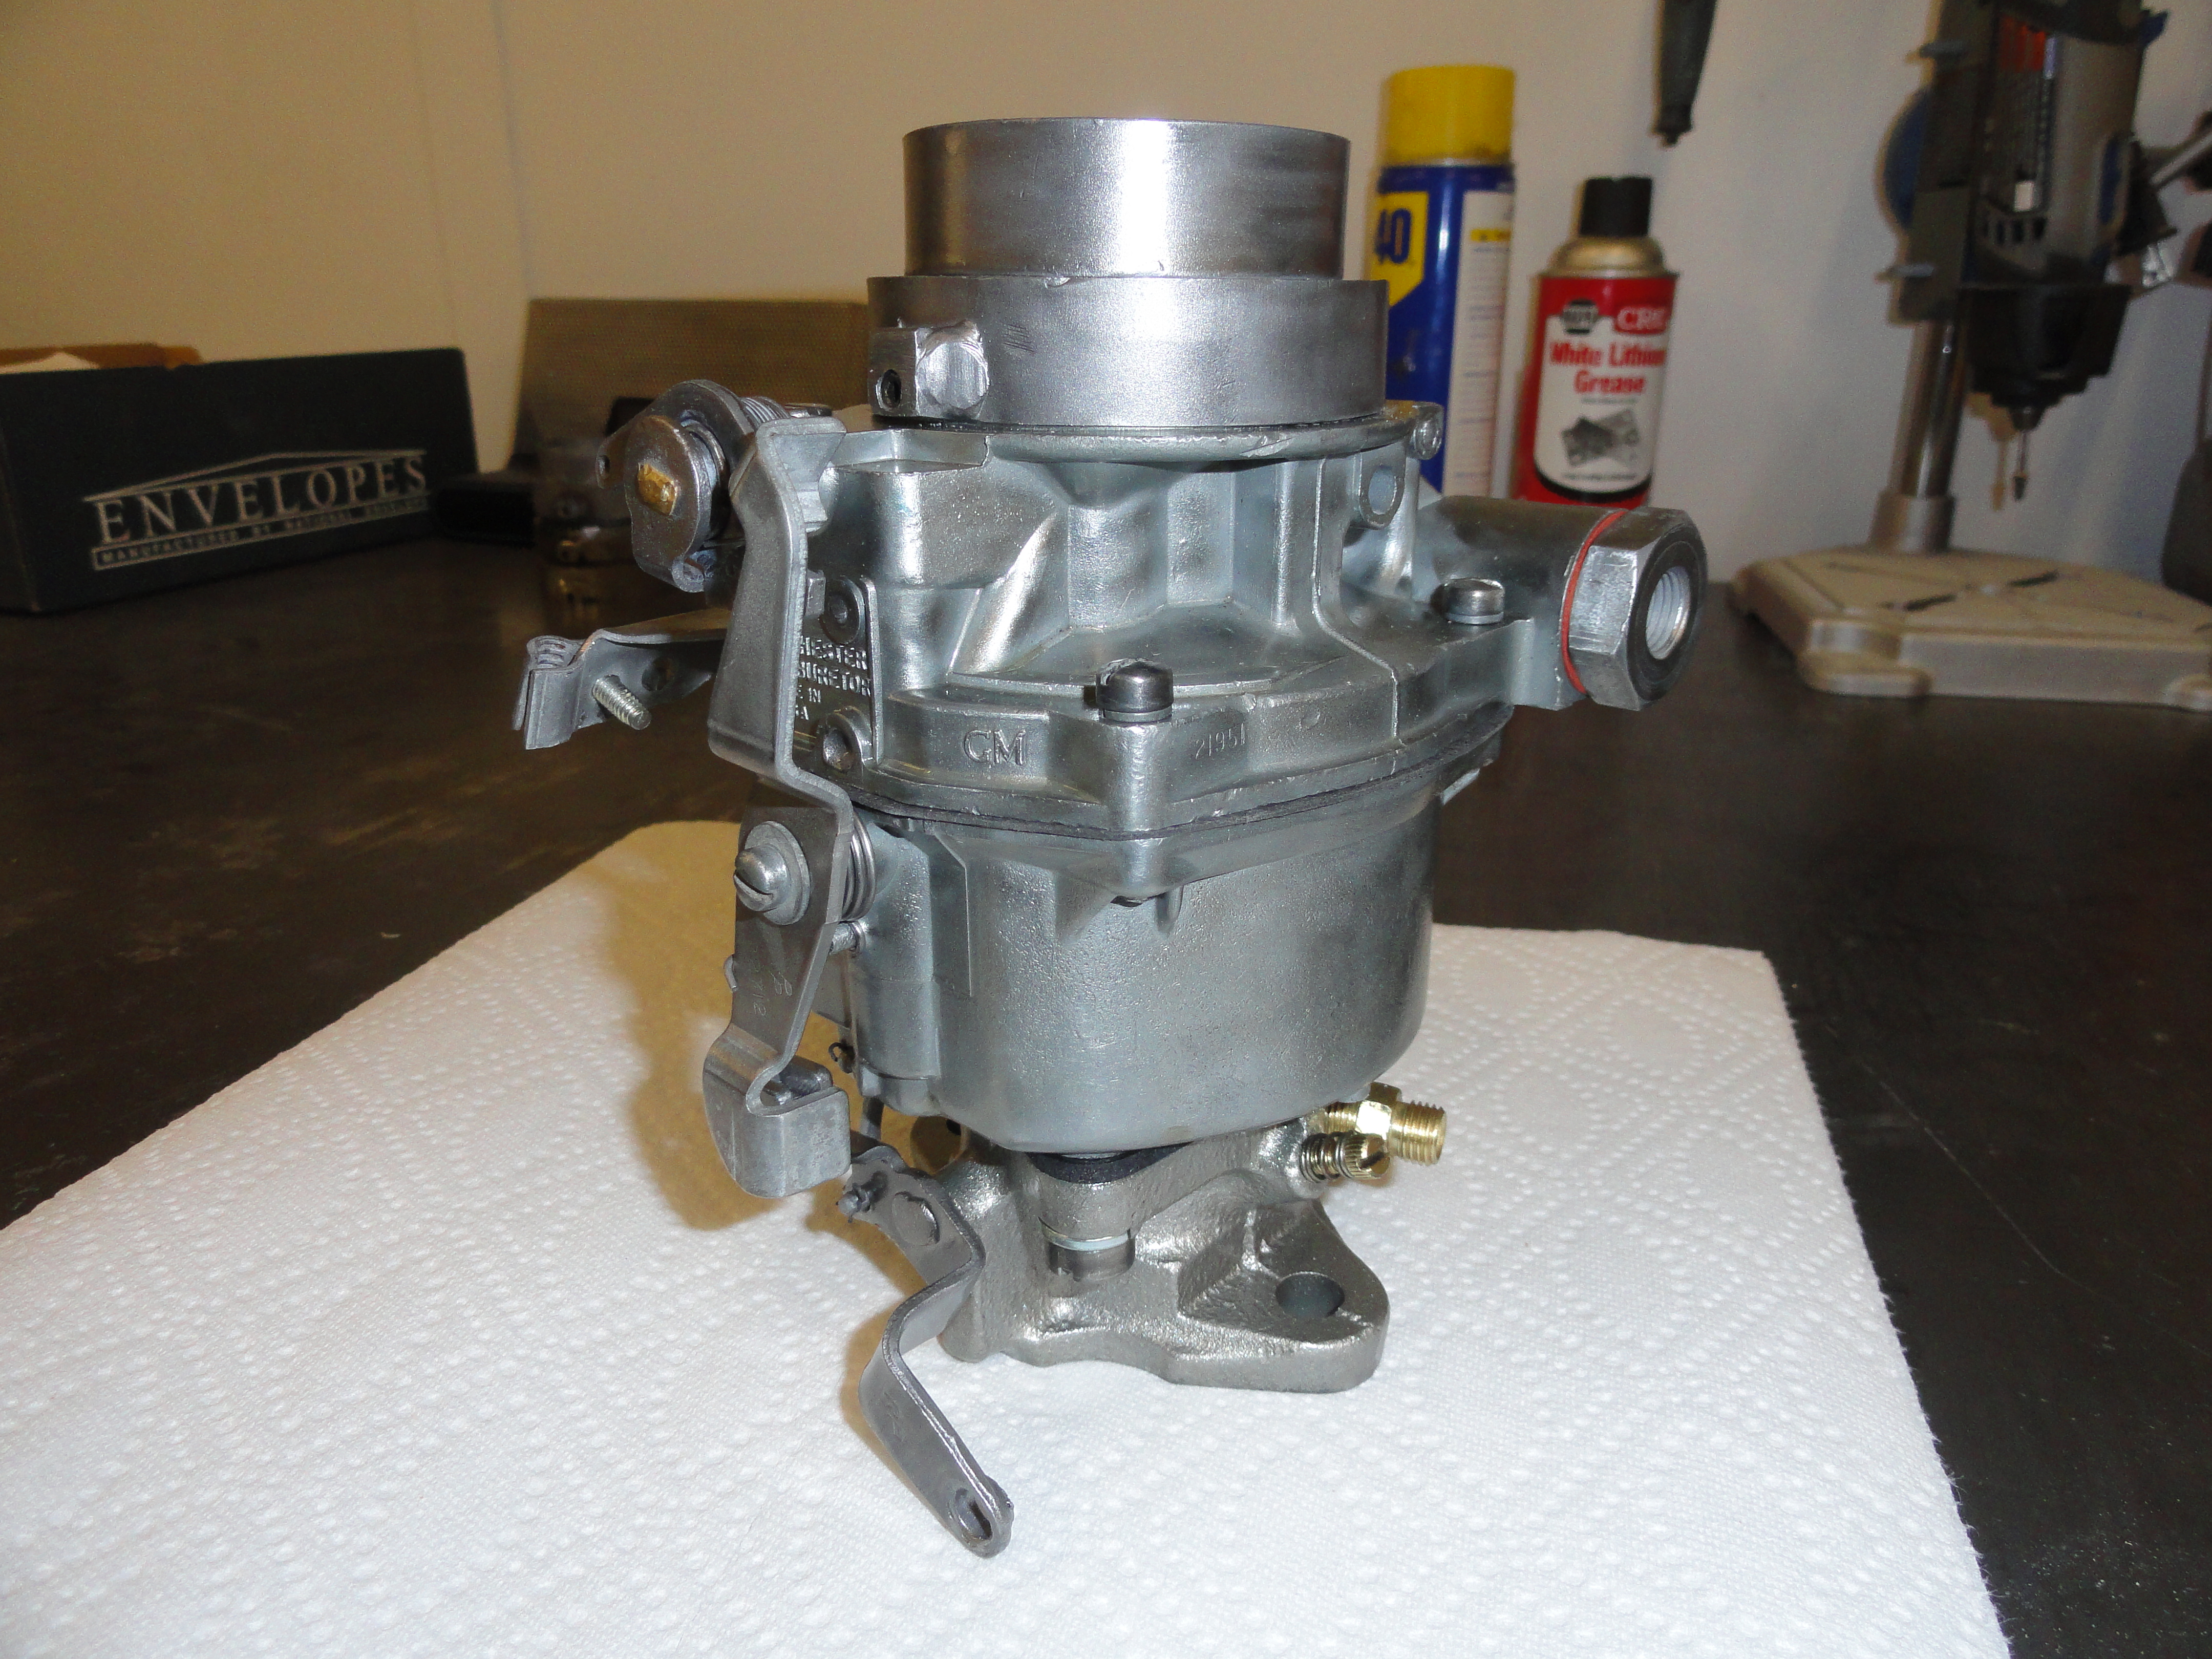
The preferred engine to replace the old one in your AD Era Truck is the 54-62 235/261 Engine. Problem is, if you want to use or old Air Filter Cannister, we need to make an adapter. The older style Rochester B Carbs had a smooth neck that you can place the older era Air Filter assemblies on by tightening a clamp around the throat. The newer style Rochester B Carbs have a center bar across the throat with a threaded nut. Since the older Air Filter units are not compatible with this new style, we have a choice. We can go with a newer style Air Filter Assembly, or we can adapt the carburetor to allow the use of the old style filter assembly. Your decision will have to do with what you are putting this engine IN. If you are putting it in a 47-55 truck, you want to use an Air Filter unit that was made for those years. I believe in choices, so the first thing we will do is to document how to make that adapter. The newer style throat is 2-9/32" (ID) while the older one is only 2-3/16" (ID). This does not mean the newer style throat sucks in more air because of the bridge across the throat for the attachment of the air filter unit, they are about the same. Left and right is the same carb with the mod mounted on the right.

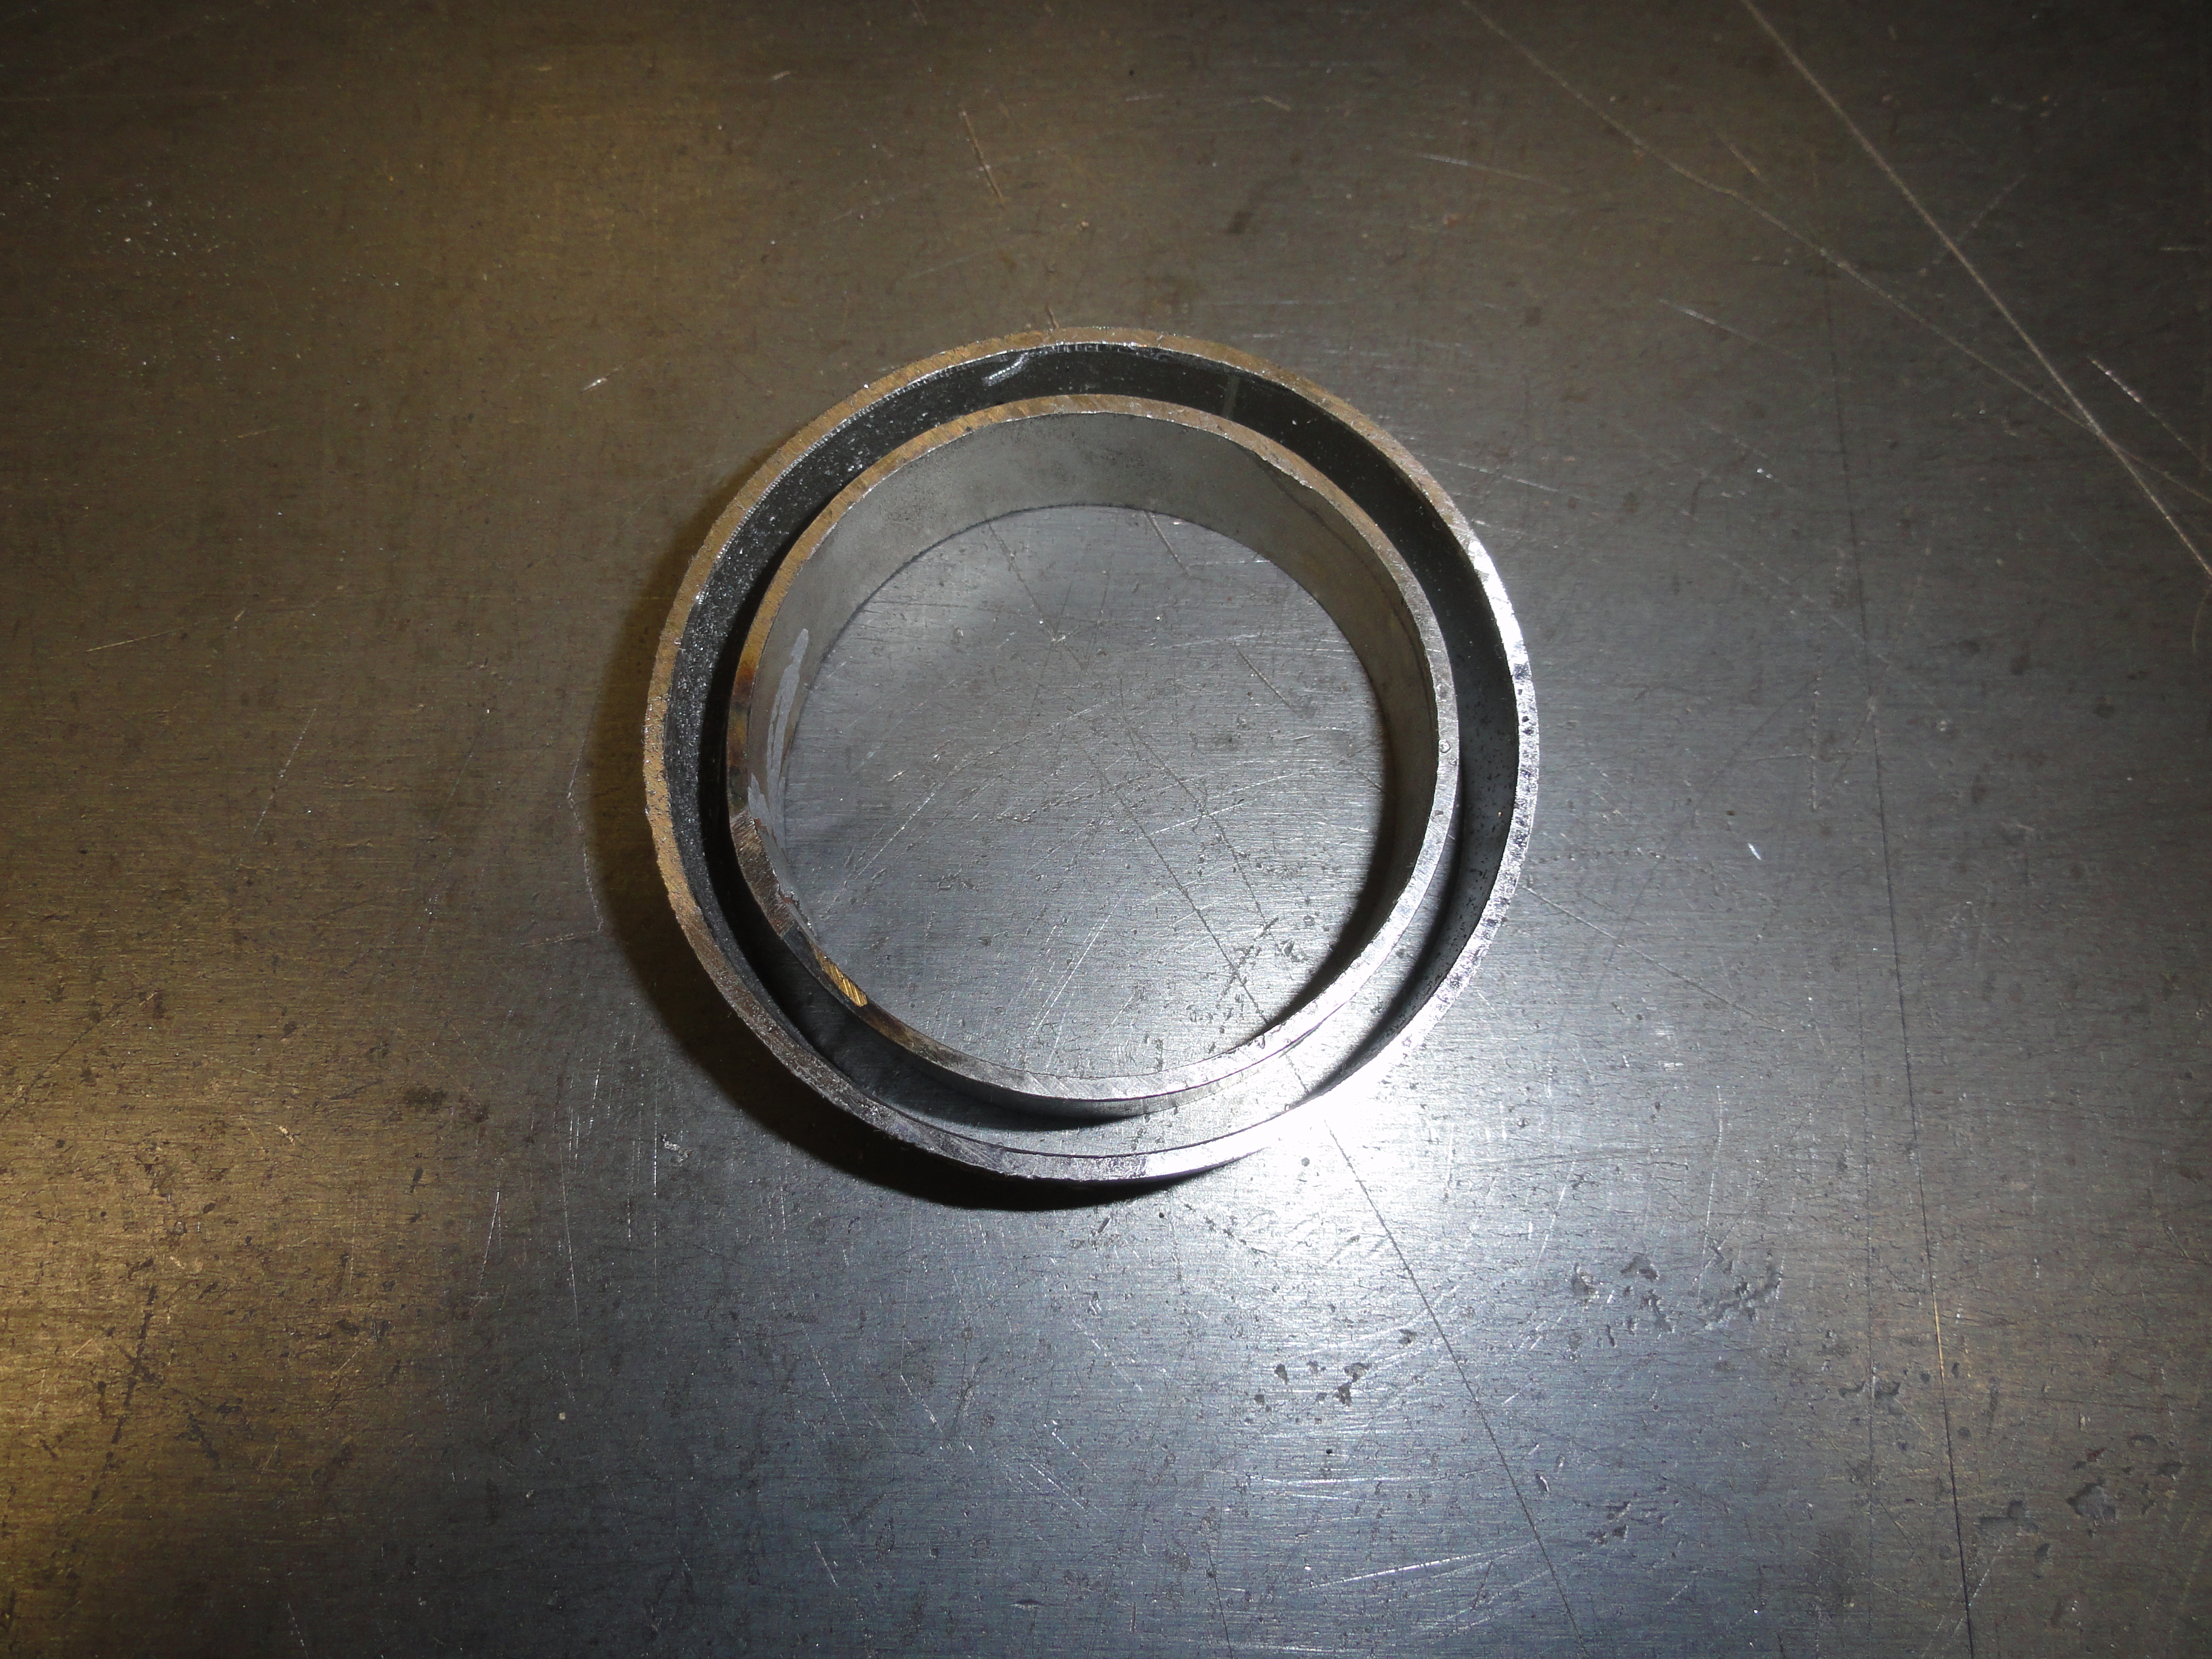
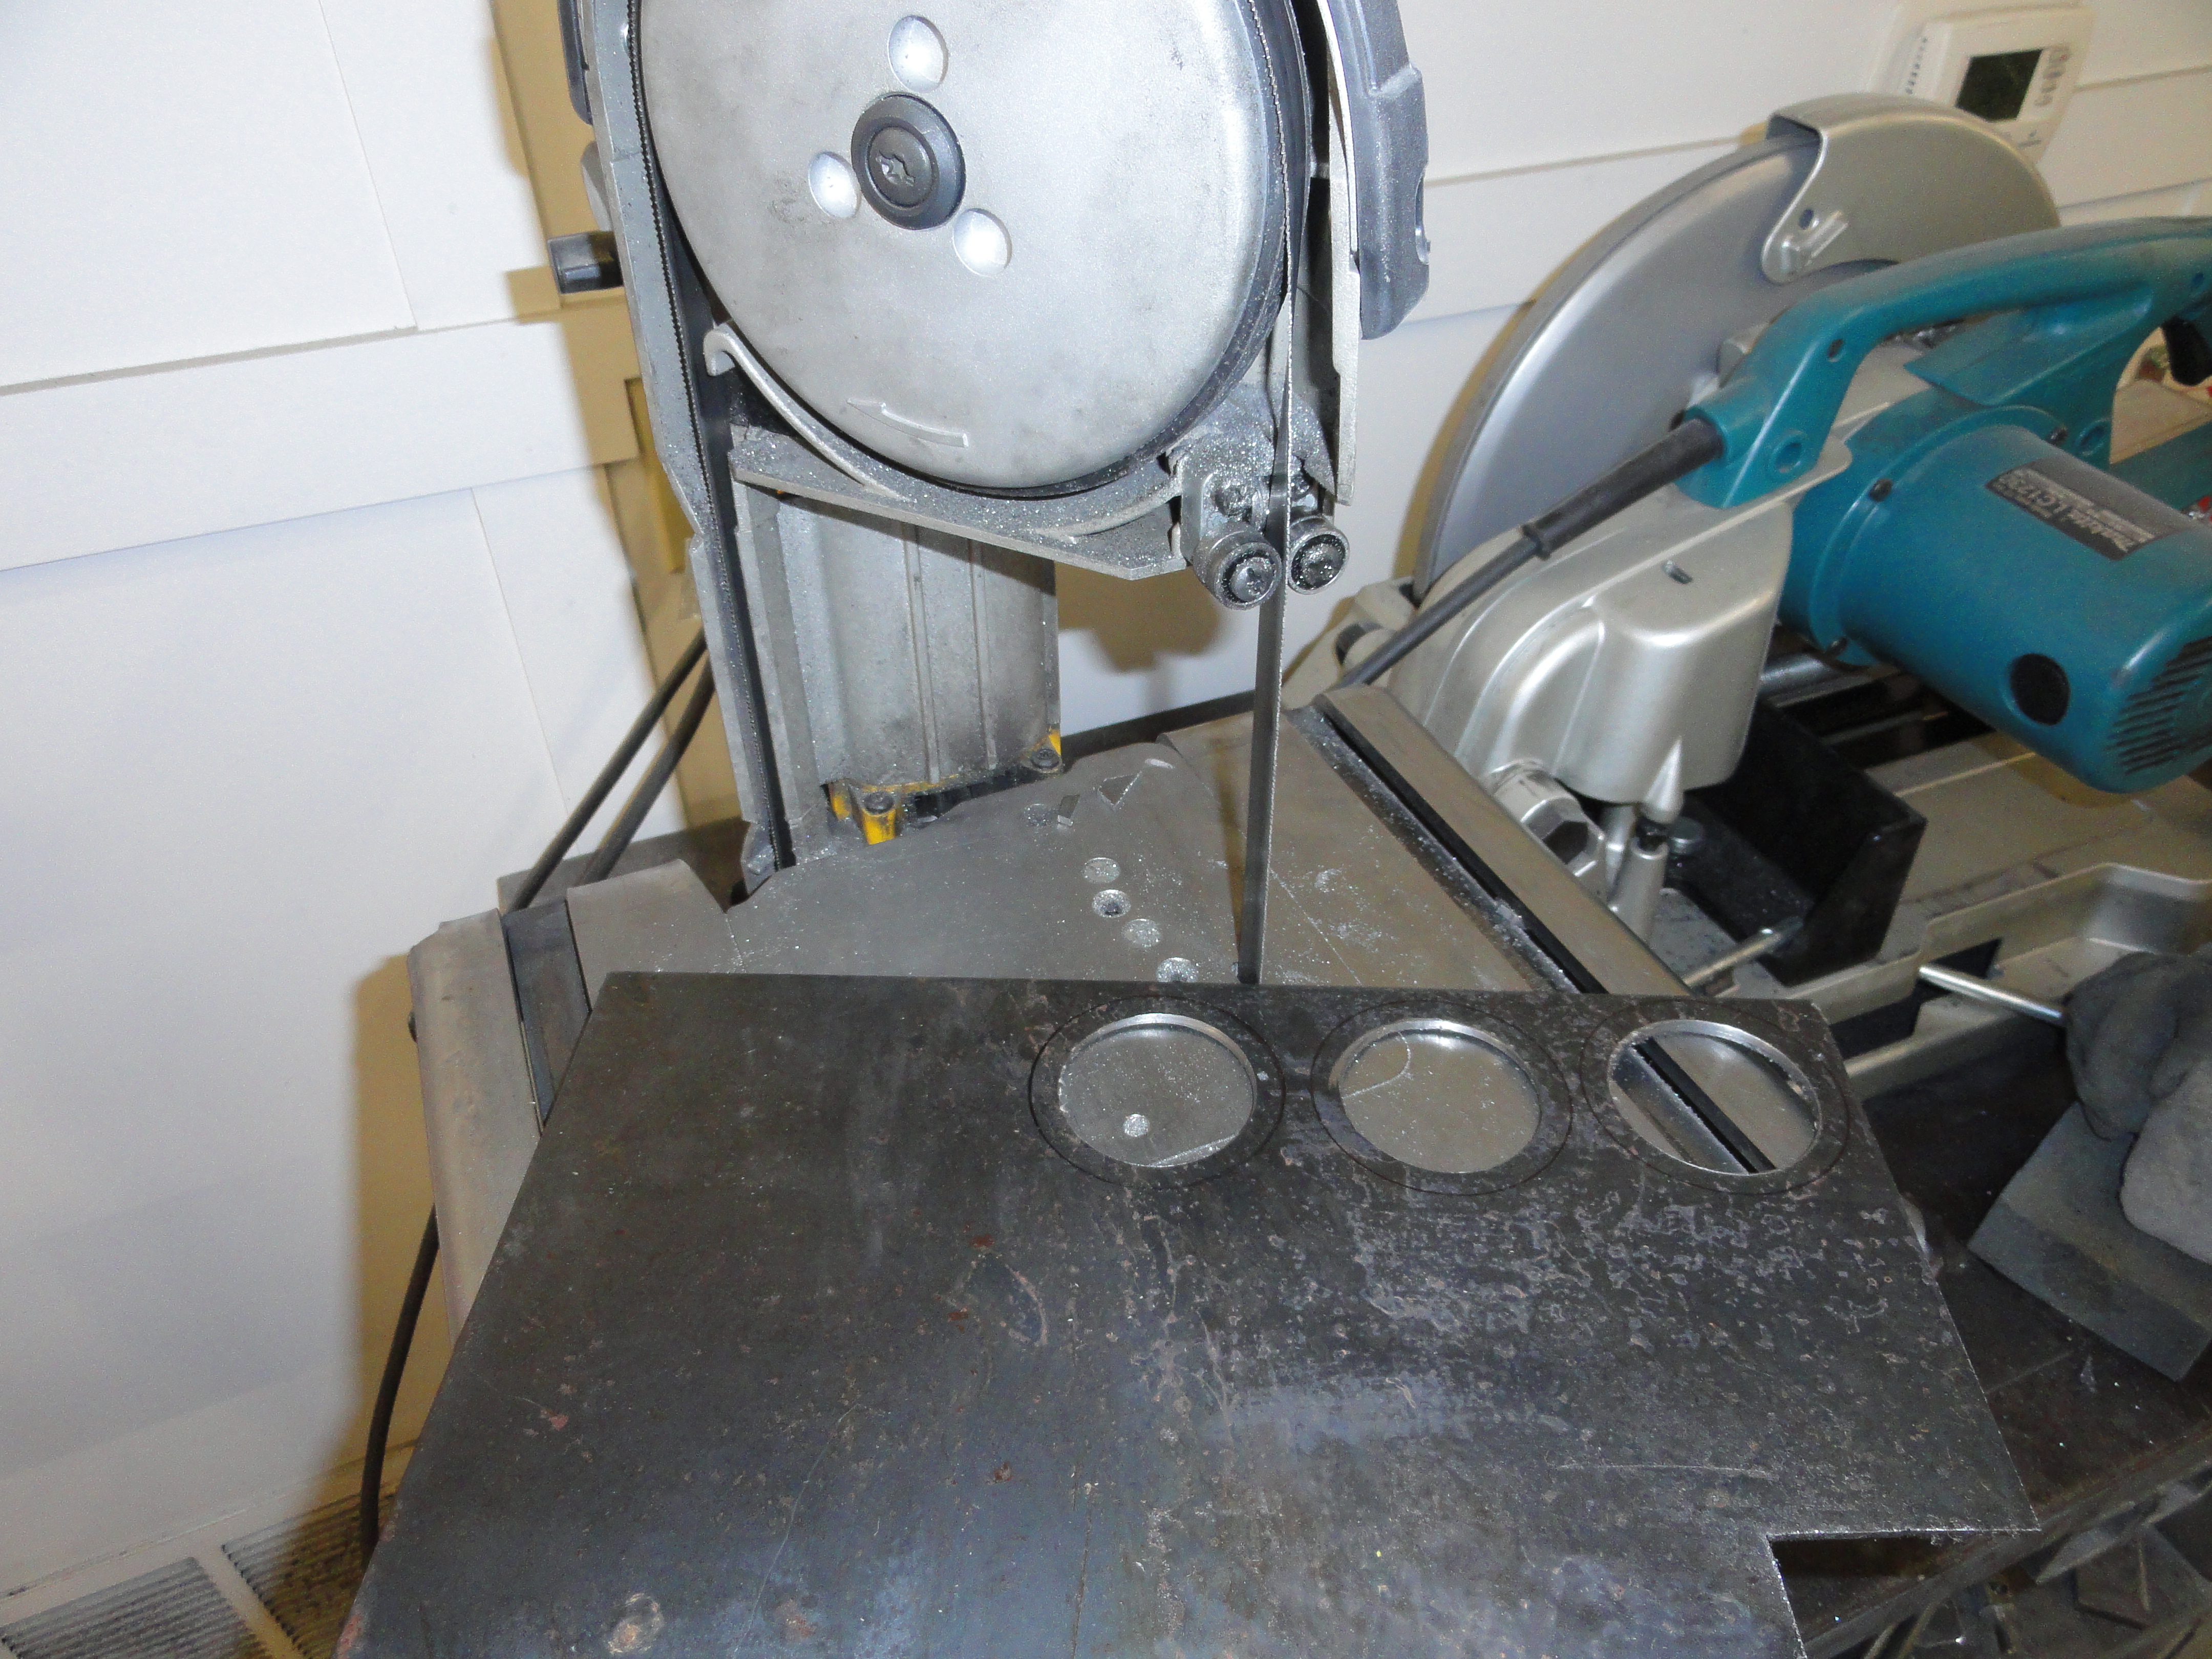
To modify the Carb for an older style filter, go to your local muffler shop and get two sizes of steel exhaust tubing. You will need 2-3/4" O.D. (2-9/32" I.D.") and 2-1/4" O.D. (2-3/16" I.D.). I just got 12 inches of each size so I could make a few extra ones. The overall height of this unit when its over will be 1-5/8", so we don't need very much tubing for this. Cut a piece of the 2-3/4", 5/8" high. Cut a piece of the 2-1/4", also 5/8" high. Slice the 2-1/4" one in half down the seam. Using your Air Filter Assembly, resize the smaller one to fit snugly inside with the adjustment bolt turned about halfway out. This should be very close to 2-1/4". Make a mark on this sleeve and after cutting to size, weld it closed again. With two rings that are correct, we need to make a washer that will fill in the 1/4" gap completely.
We want this washer to fit exactly inside the larger ring (so 2-3/4" O.D.) and exactly on top of the smaller one (so 2-1/4" I.D.). This strategy gives the larger ring the proper height and the small one too. Now with some strategic welding we can do this so that it functions perfectly. Start with the large ring and place the washer inside level with the lip, then weld it on the outside only. Get good penetration so that after you are done grinding all of the weld back off level, it is still very secure. Once you are done grinding it back smooth again, turn it upside down placing the smaller ring on the table, but in the center of the larger ring. This makes it easier to get the MIG wand in the correct position for welding just inside the hole. Again good penetration is essential because all of that weld will be ground back smooth too. Weld it slowly and use proper welding procedures to avoid warping.
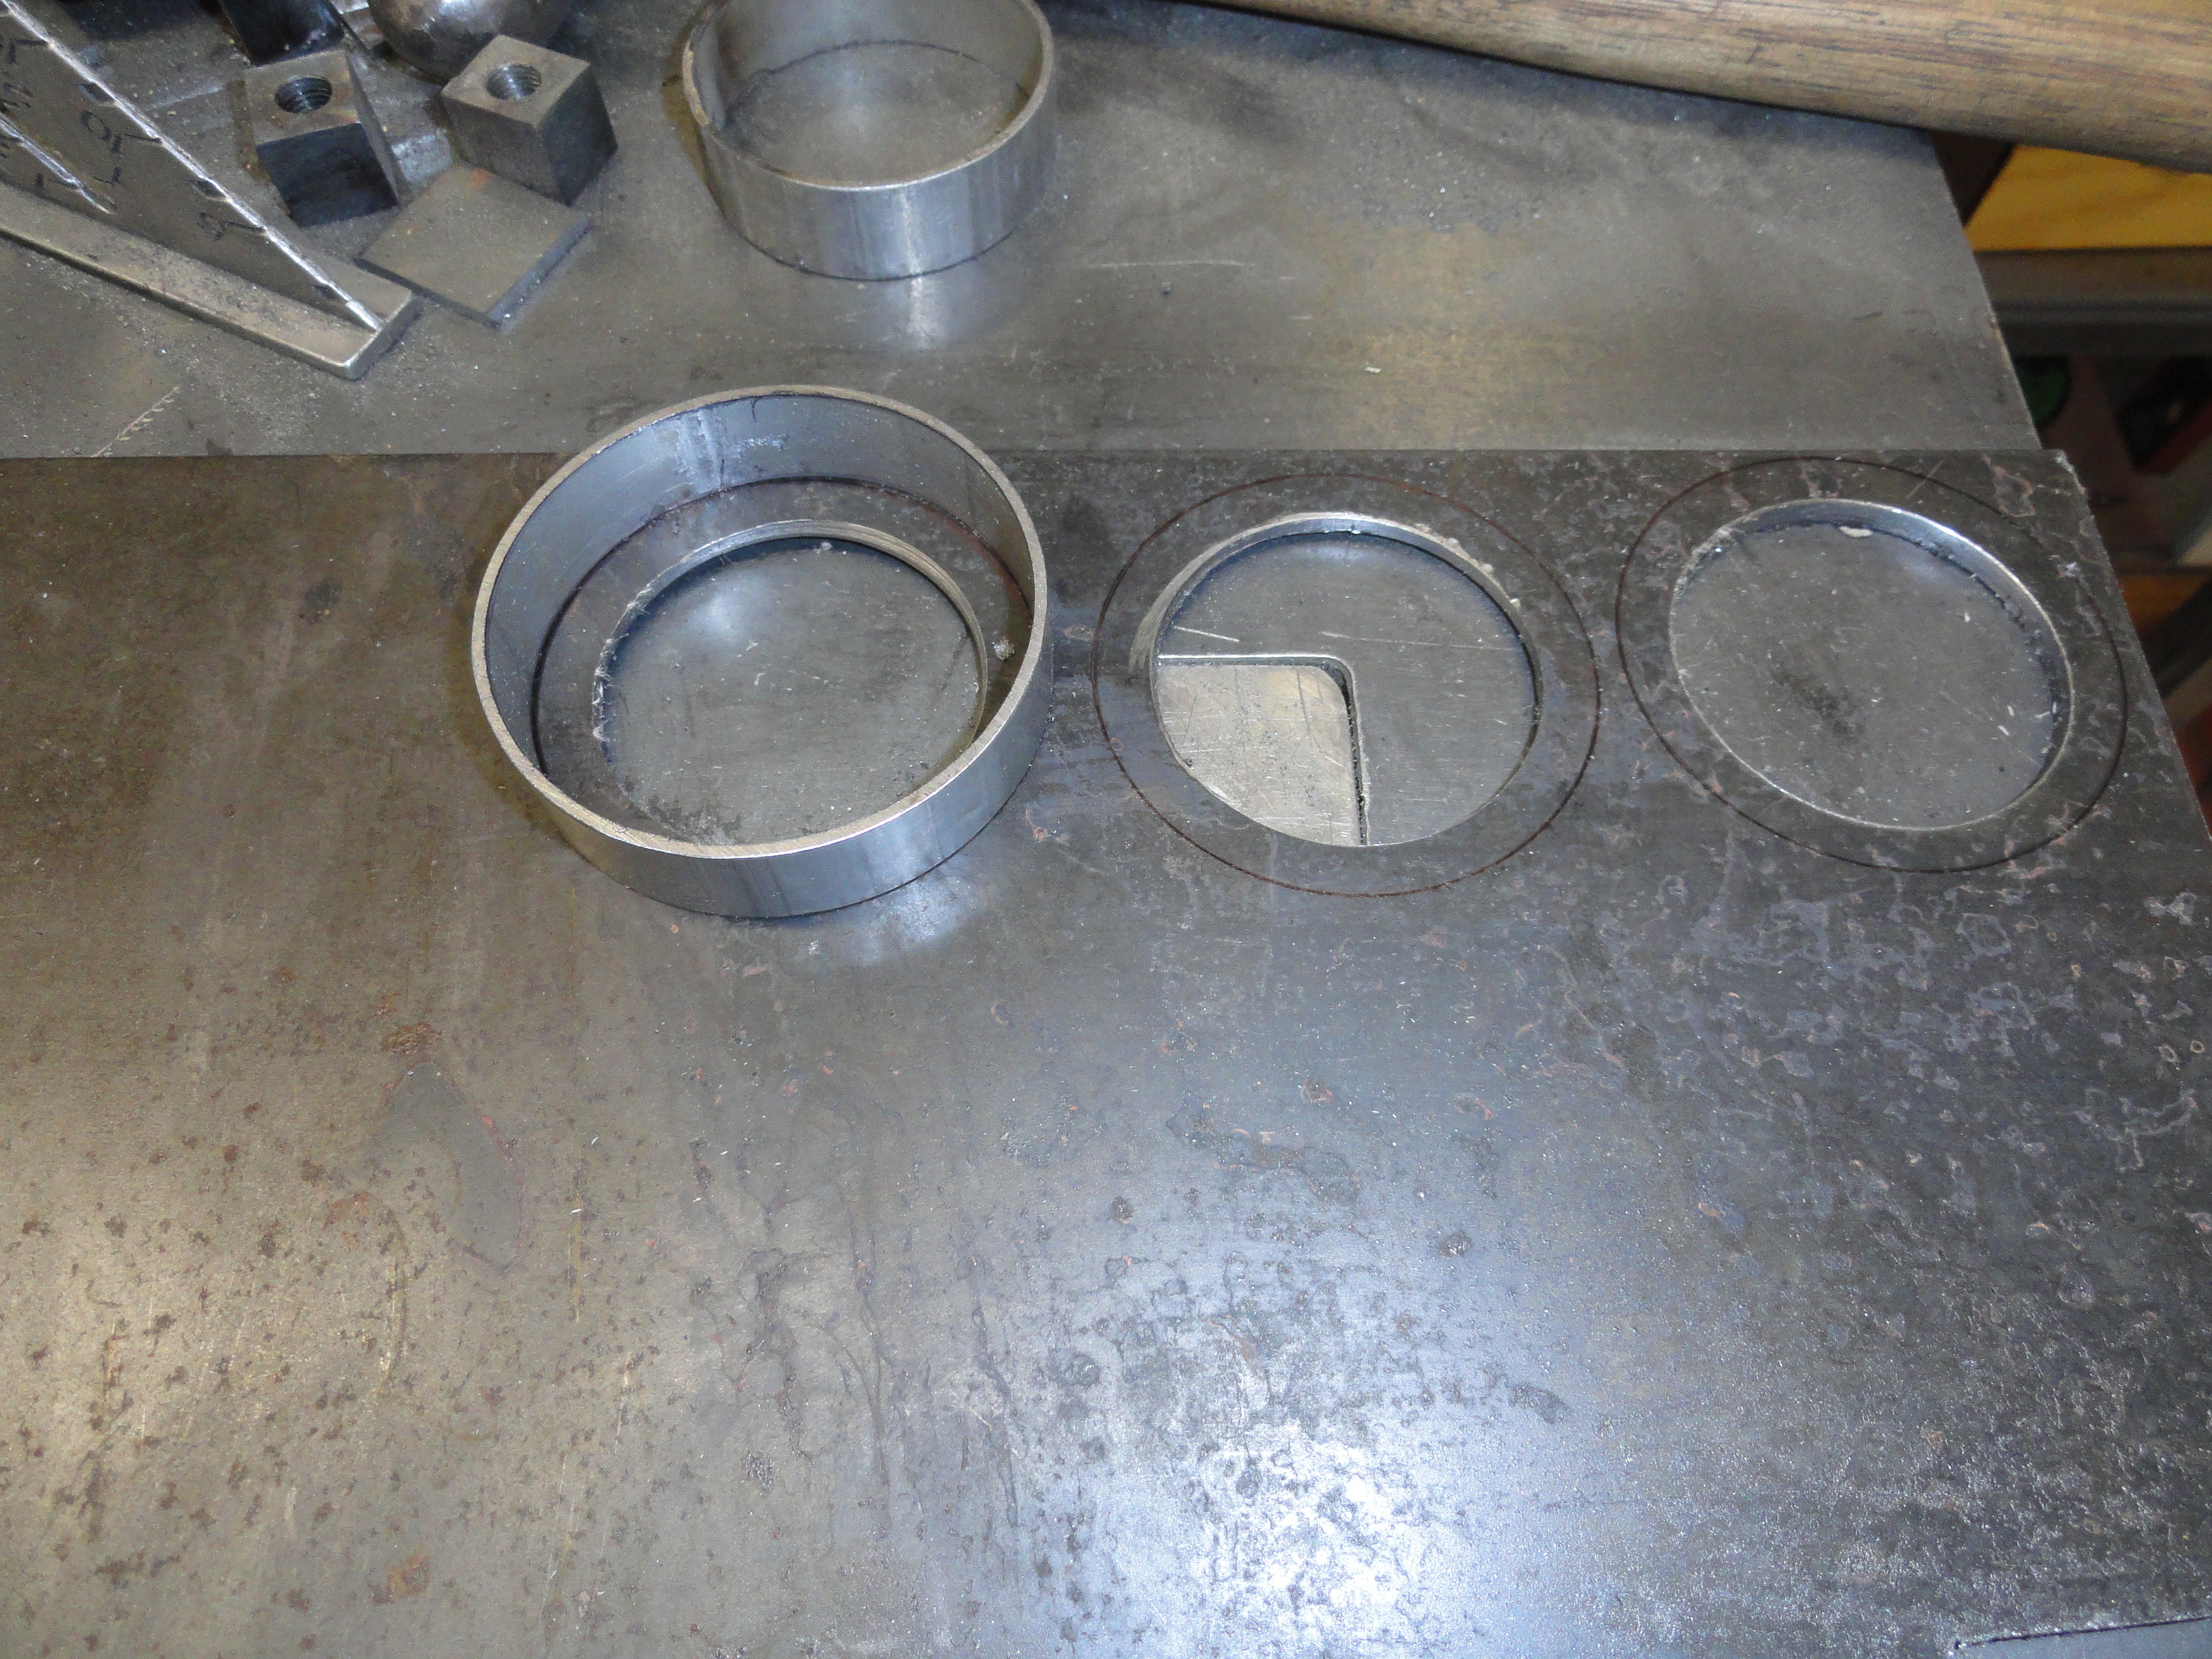
Test fit the unit to make sure it fits properly. If the larger one will not fit over the carb but just barely, grind out the seam and it should fit perfectly. Once you have a good test fit, we need to make sure this thing doesn't come off the engine. To make SURE this won't happen, we need to weld a 1/4" nut near the bottom and exactly where the thicker part of the carb flange is located on both sides. Mark as in the center of the meatiest part of the throat and 3/16" up on both sides about where the old mounting bridge is located, then place the nut where you want to weld it, and then FILL the 1/4" hole as if using it for a spot weld. Fill it with weld so we can re-drill for a #10 Allen style set screw.

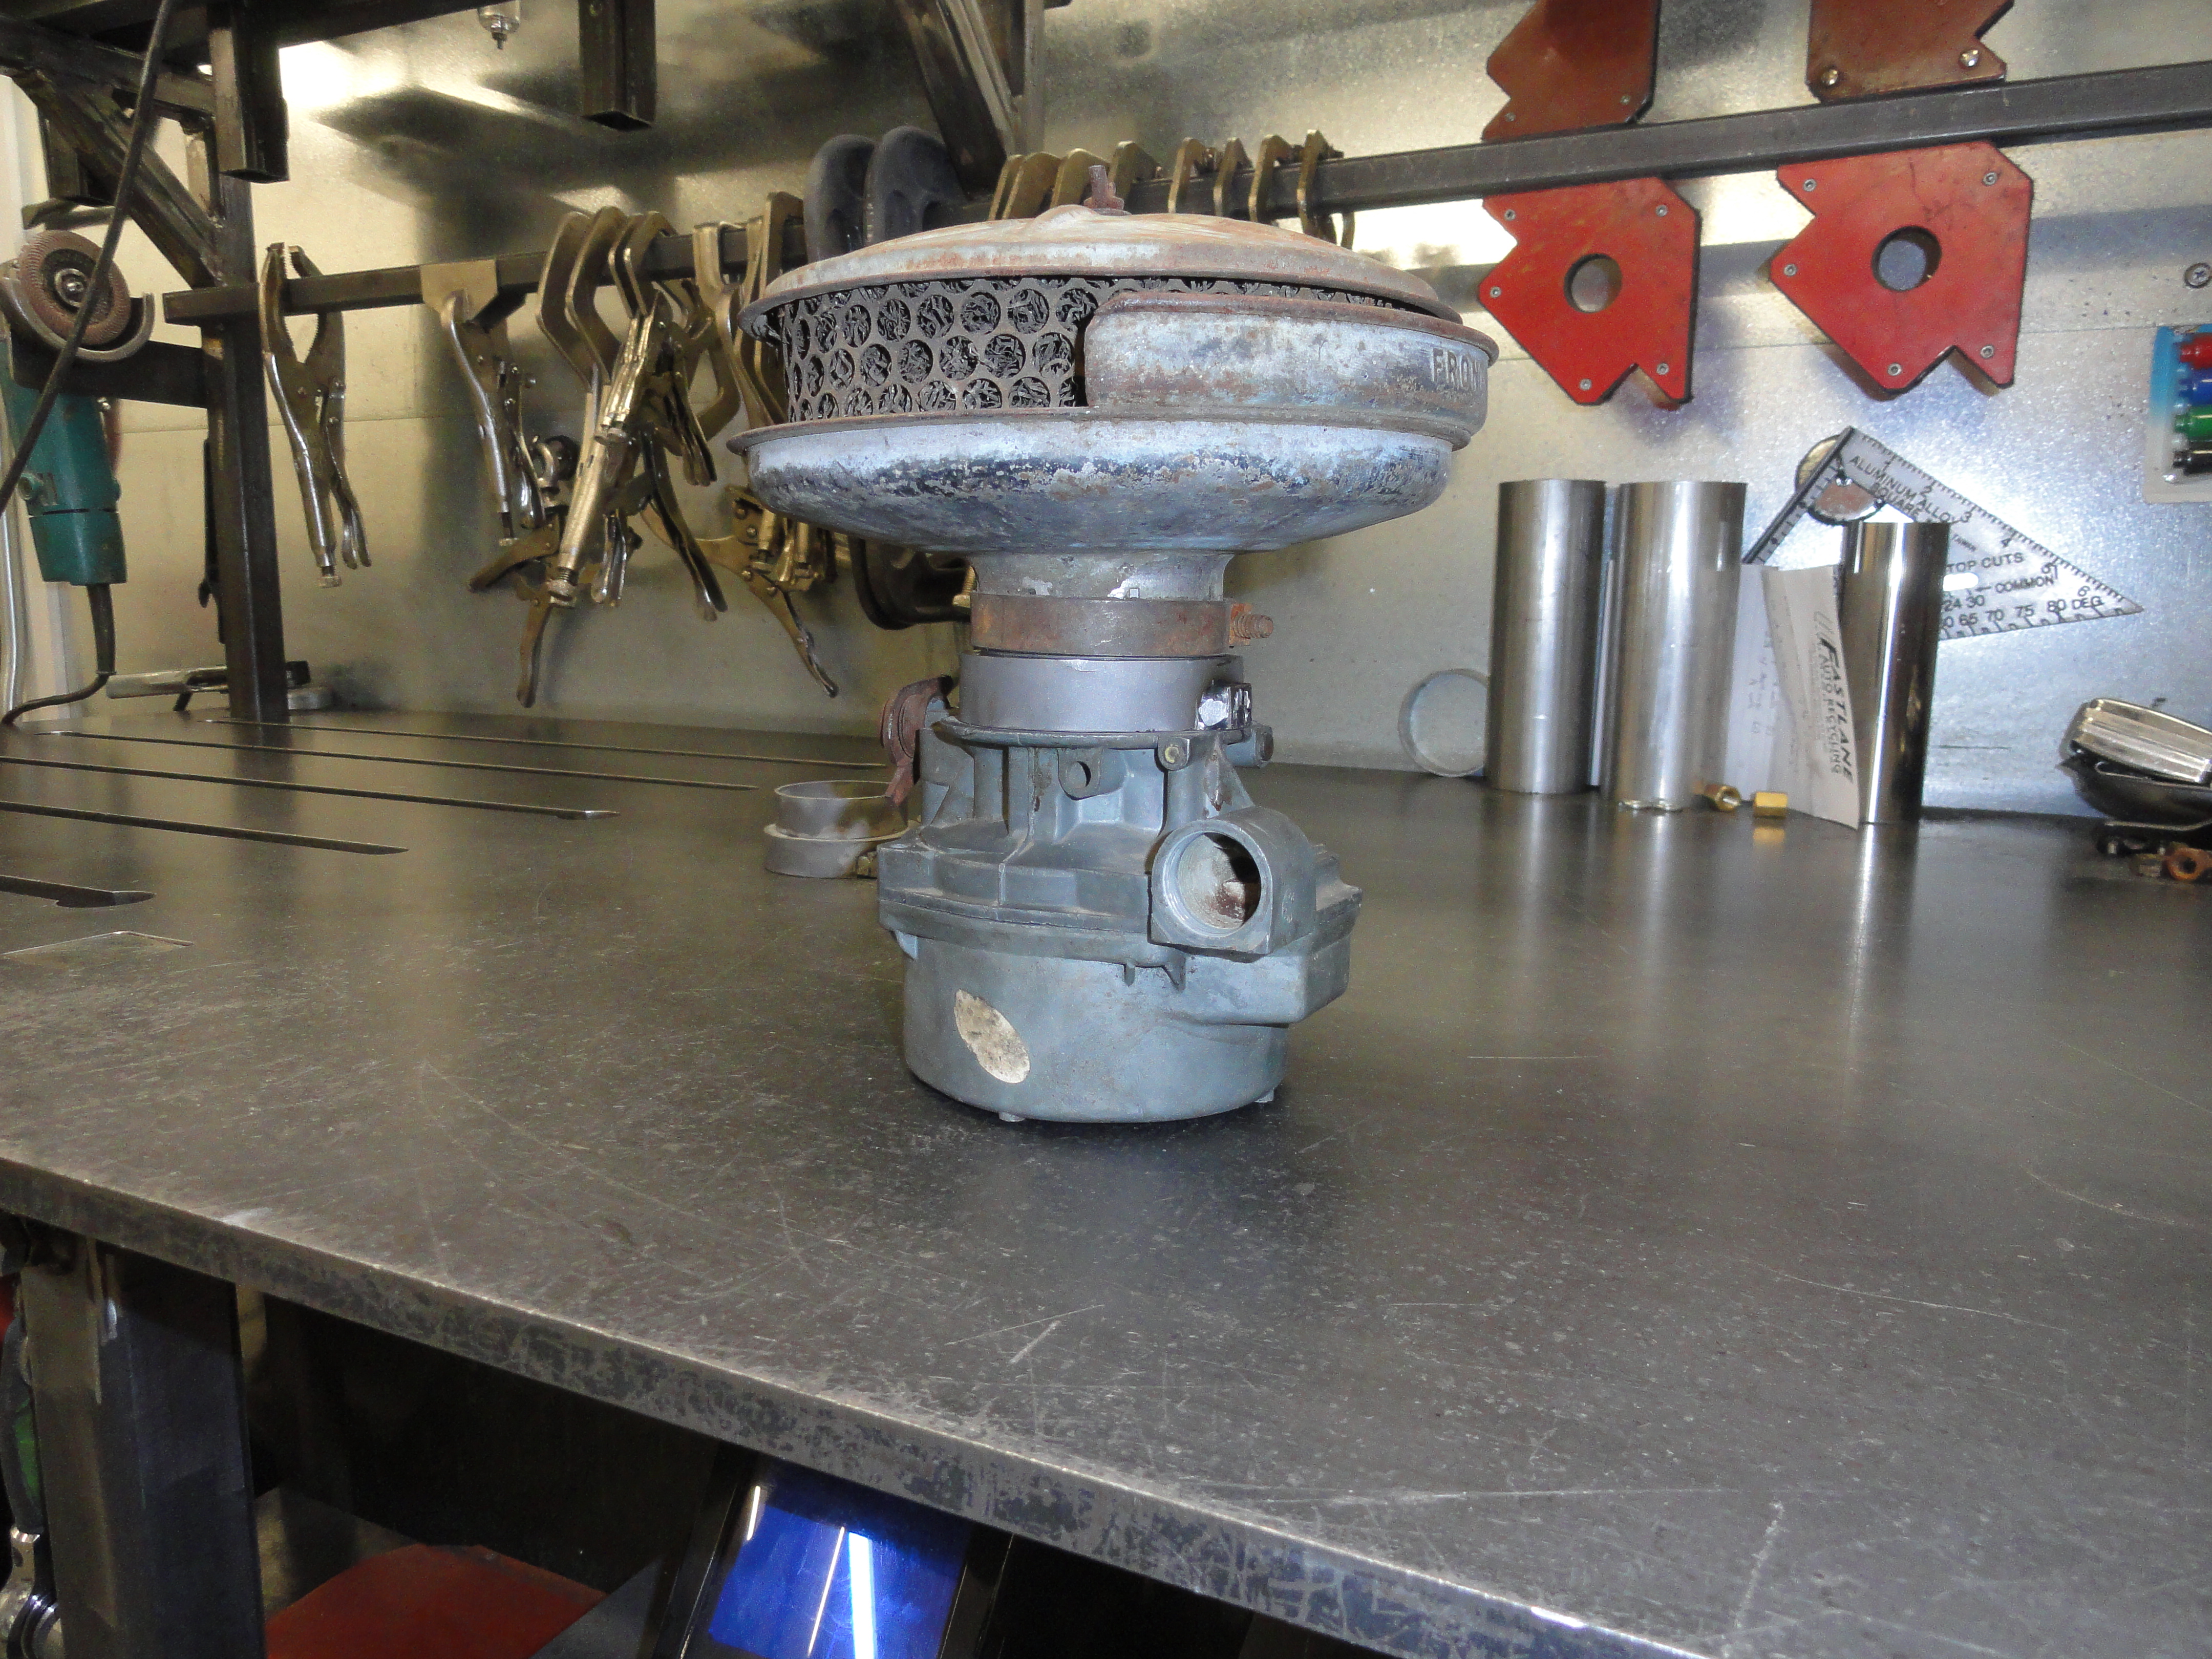
Once it's cool, mark the center of it for drilling and center punch it. Mark 3/16" from the bottom in the center of the nut. This should place the hole exactly where we want it. Drill using a #21 bit used for a #10-32 tap. Tap and place the unit on top of the carb in the correct location. Mark through the hole a mark on the carb. Using a 1/8" drill bit, put a shallow dimple (less than a 1/16") to allow the setscrew to protrude just a little bit inside the carb. Install the setscrew using LocTite. Now we can use these newer style carbs with an older vintage filter assembly or a newer one. The choice is now yours!