

Deve's Technical Network
1947-1955 1st Chevy Trucks
216/235/261 Engine Solutions & More
Start with at least 1/8" thickness wall 1" square tubing as shown. Cut the pieces to:
The total lineal feet of the 1" square needed is: 20.5 feet
Then you will need two 1/8" thick by 2" by 11-1/2" steel plates to put on the ends.
To finish it off, quantity 4 of 3 inch, 275 pound capacity wheels and necessary hardware. I got mine at Harbor Freight.
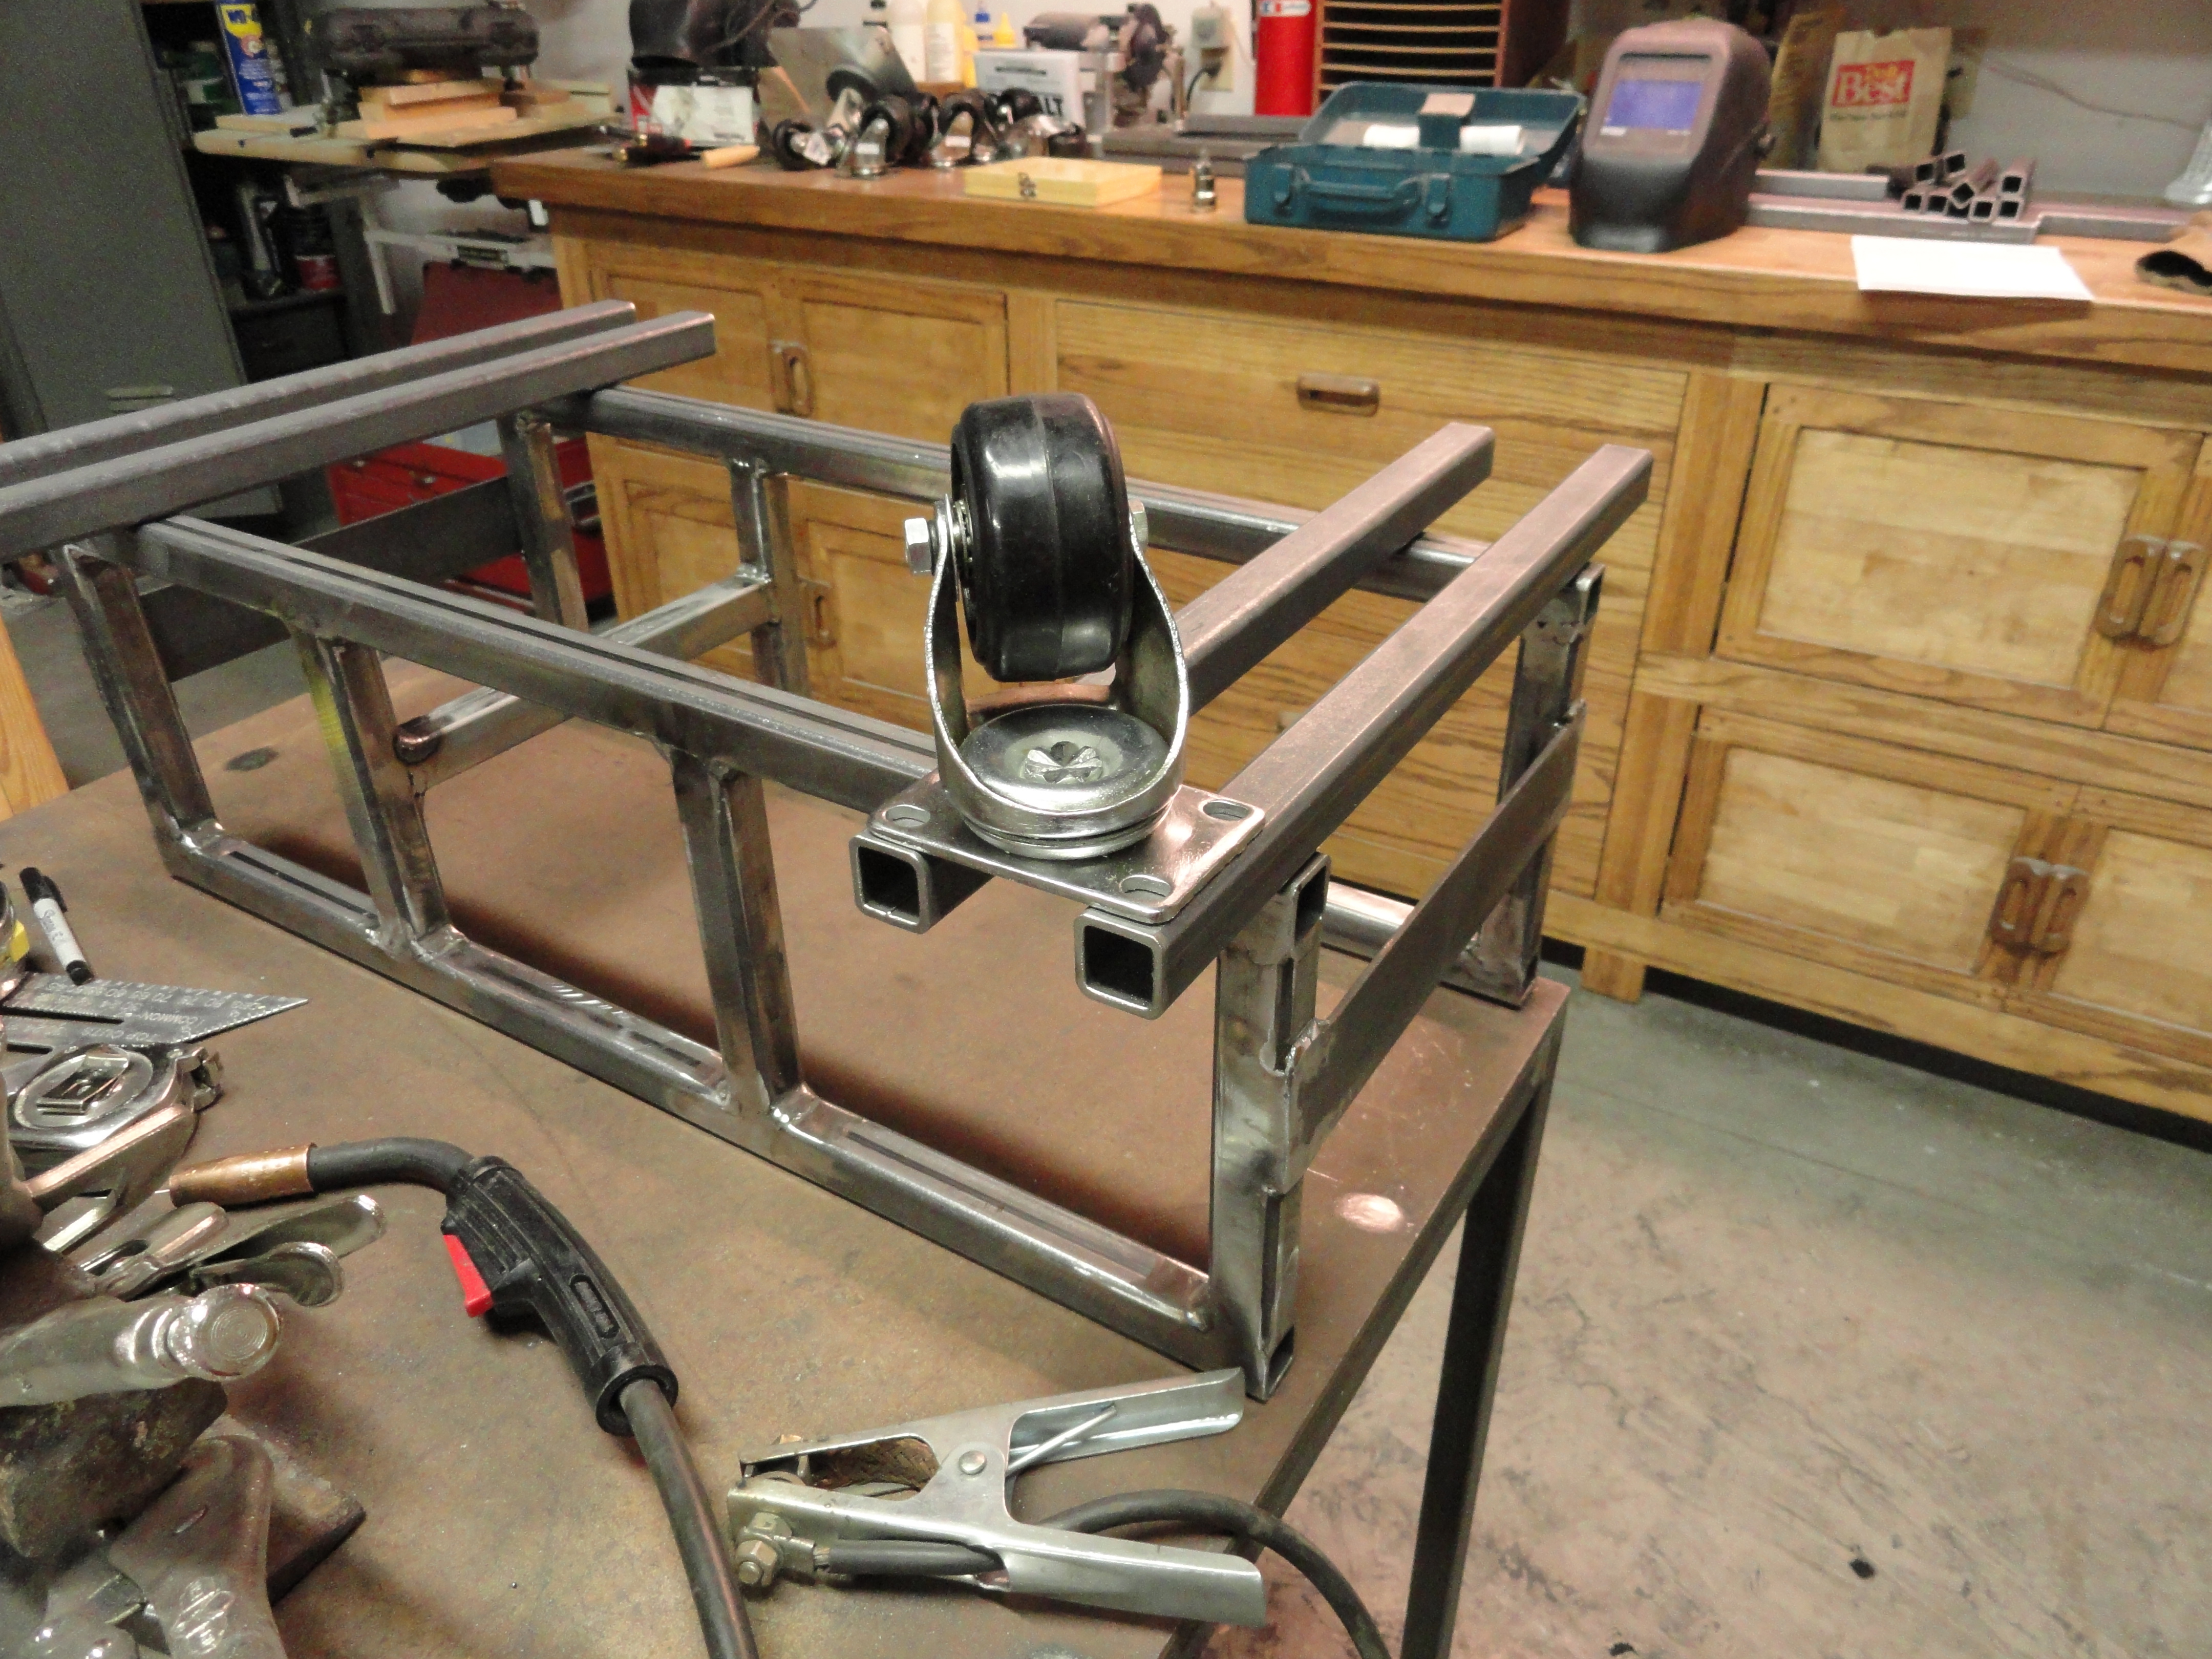
Start by placing your wheels over 2 of the 18" span wheel supports. Slide it around until you match the steel plate on the wheels with the edge of the 1", then mark each hole with a sharpie for drilling. I used 5/16" x 1-1/2" bolts with nuts, flats, and locks. Once drilled, assemble the two wheel assembly rails and set them aside. Never-mind the pics show the rest of it completed, doing it this way will result in a more square frame.
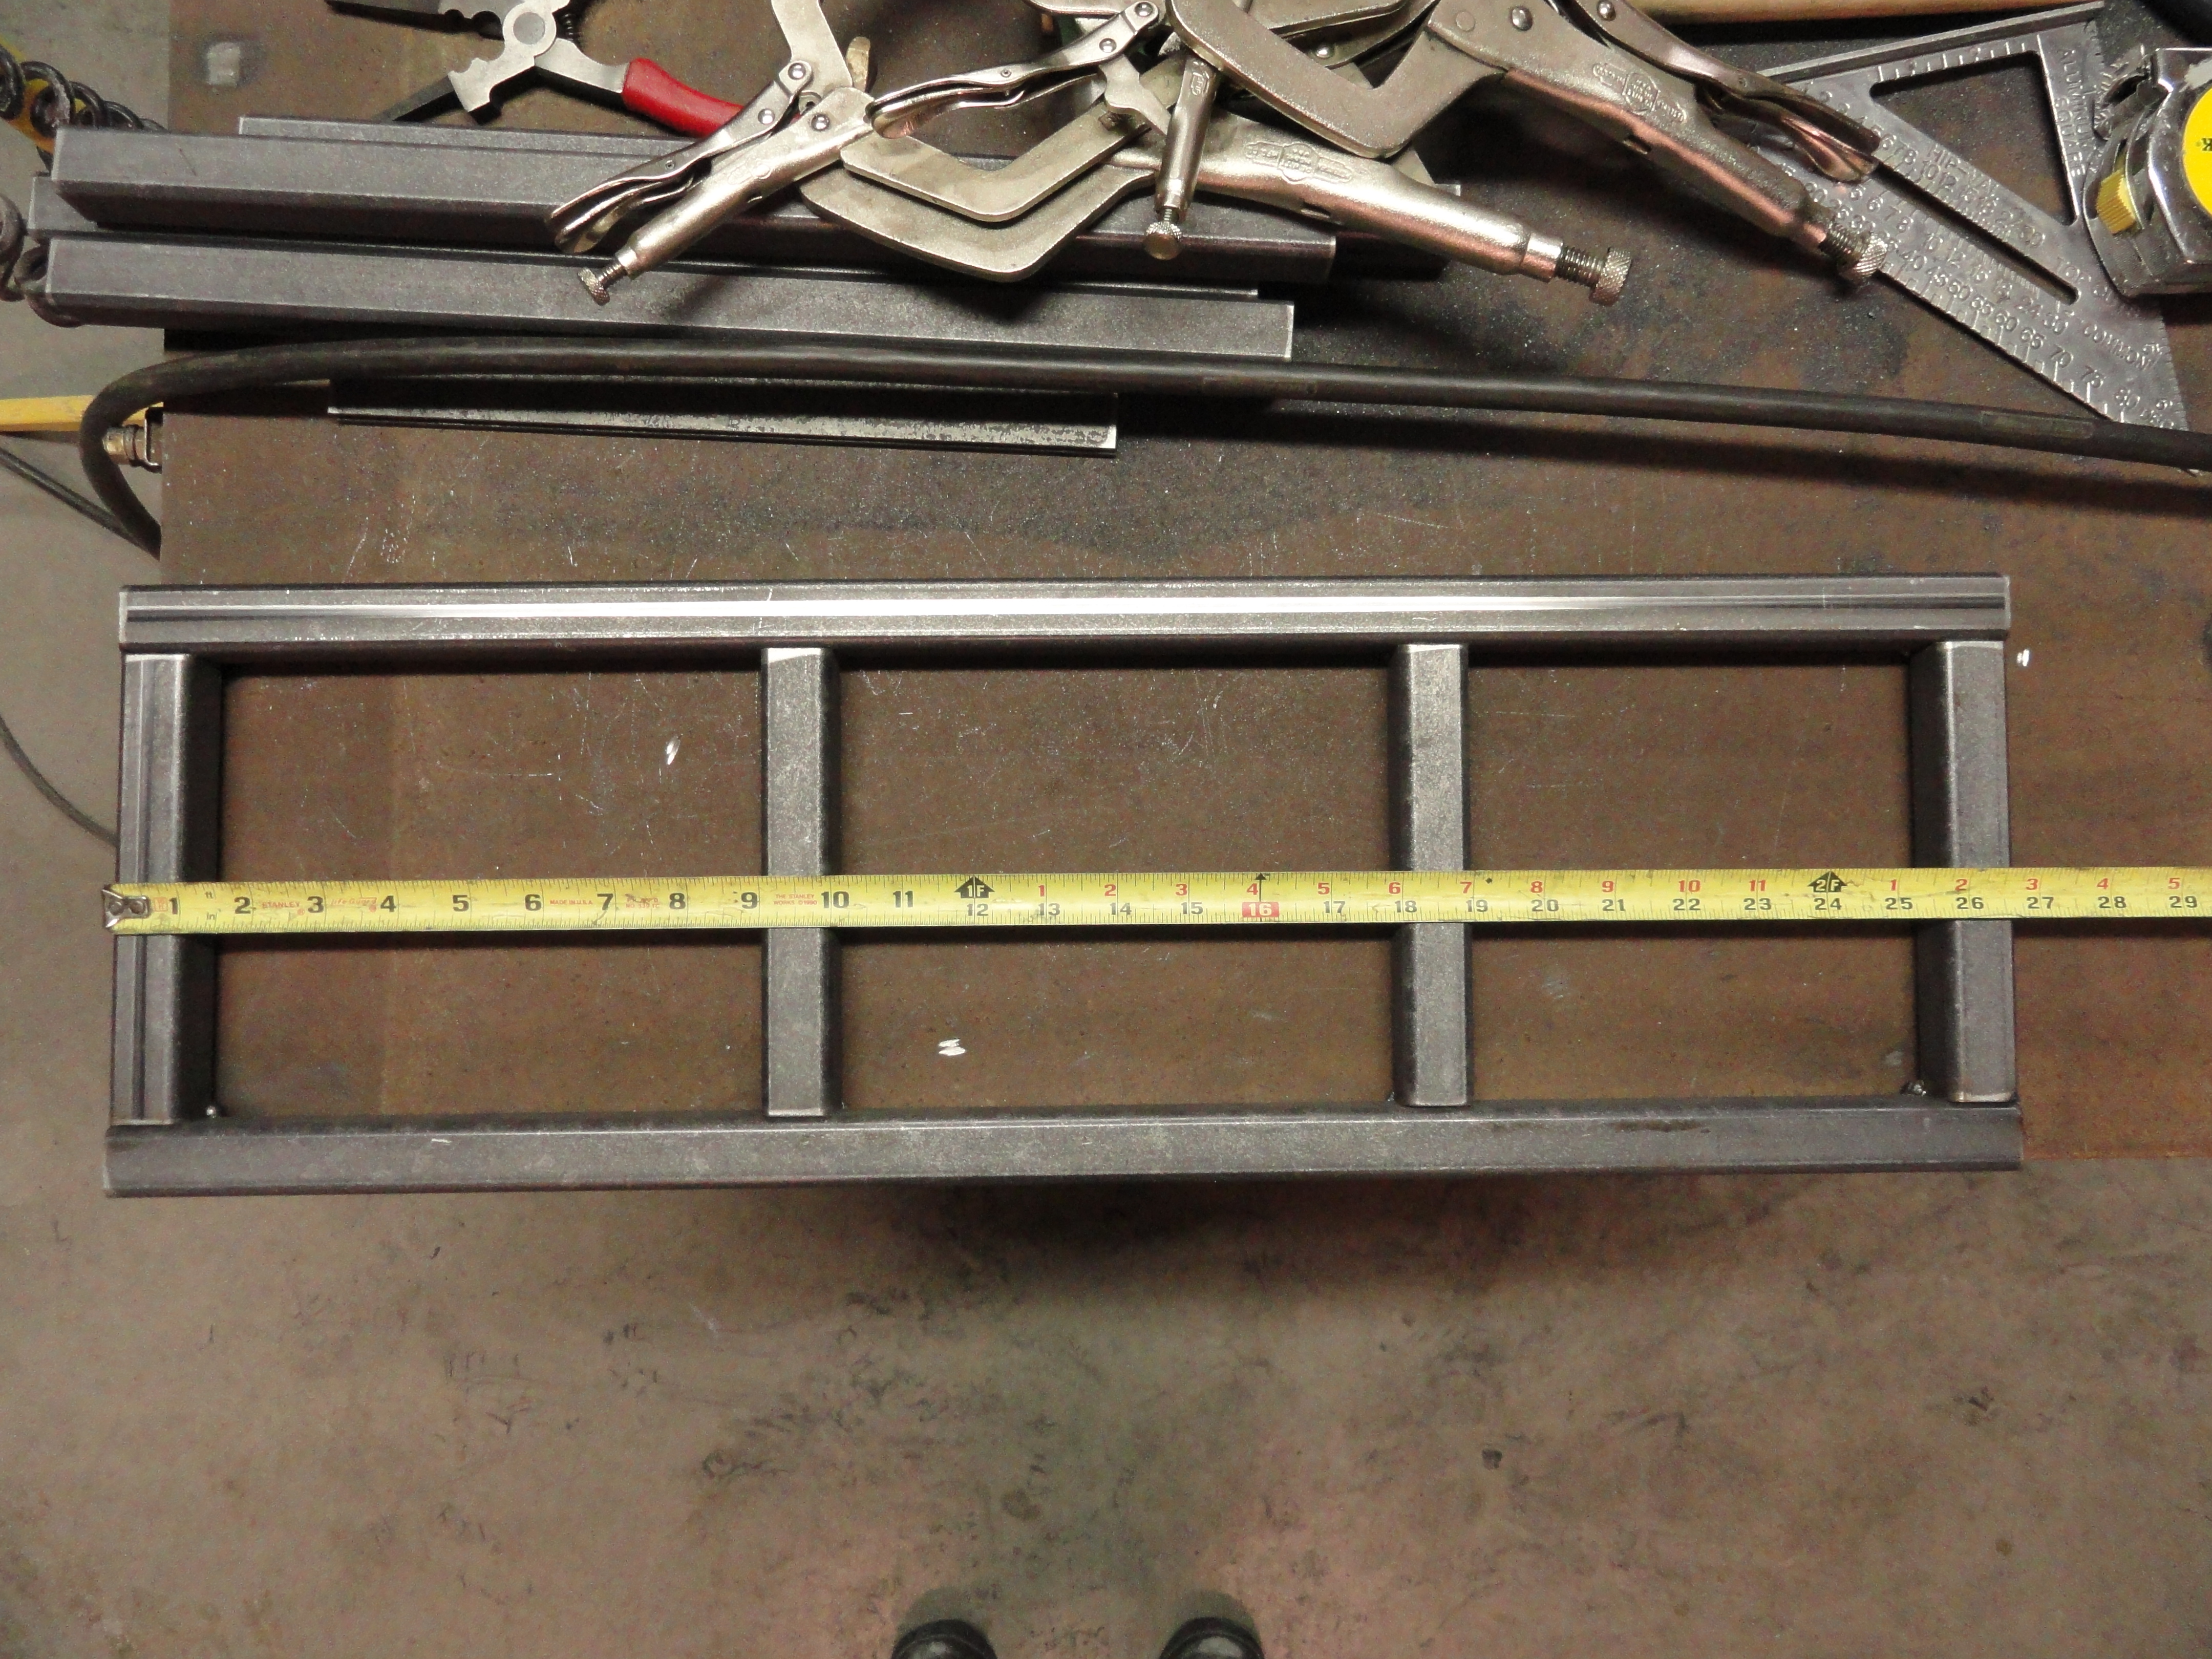
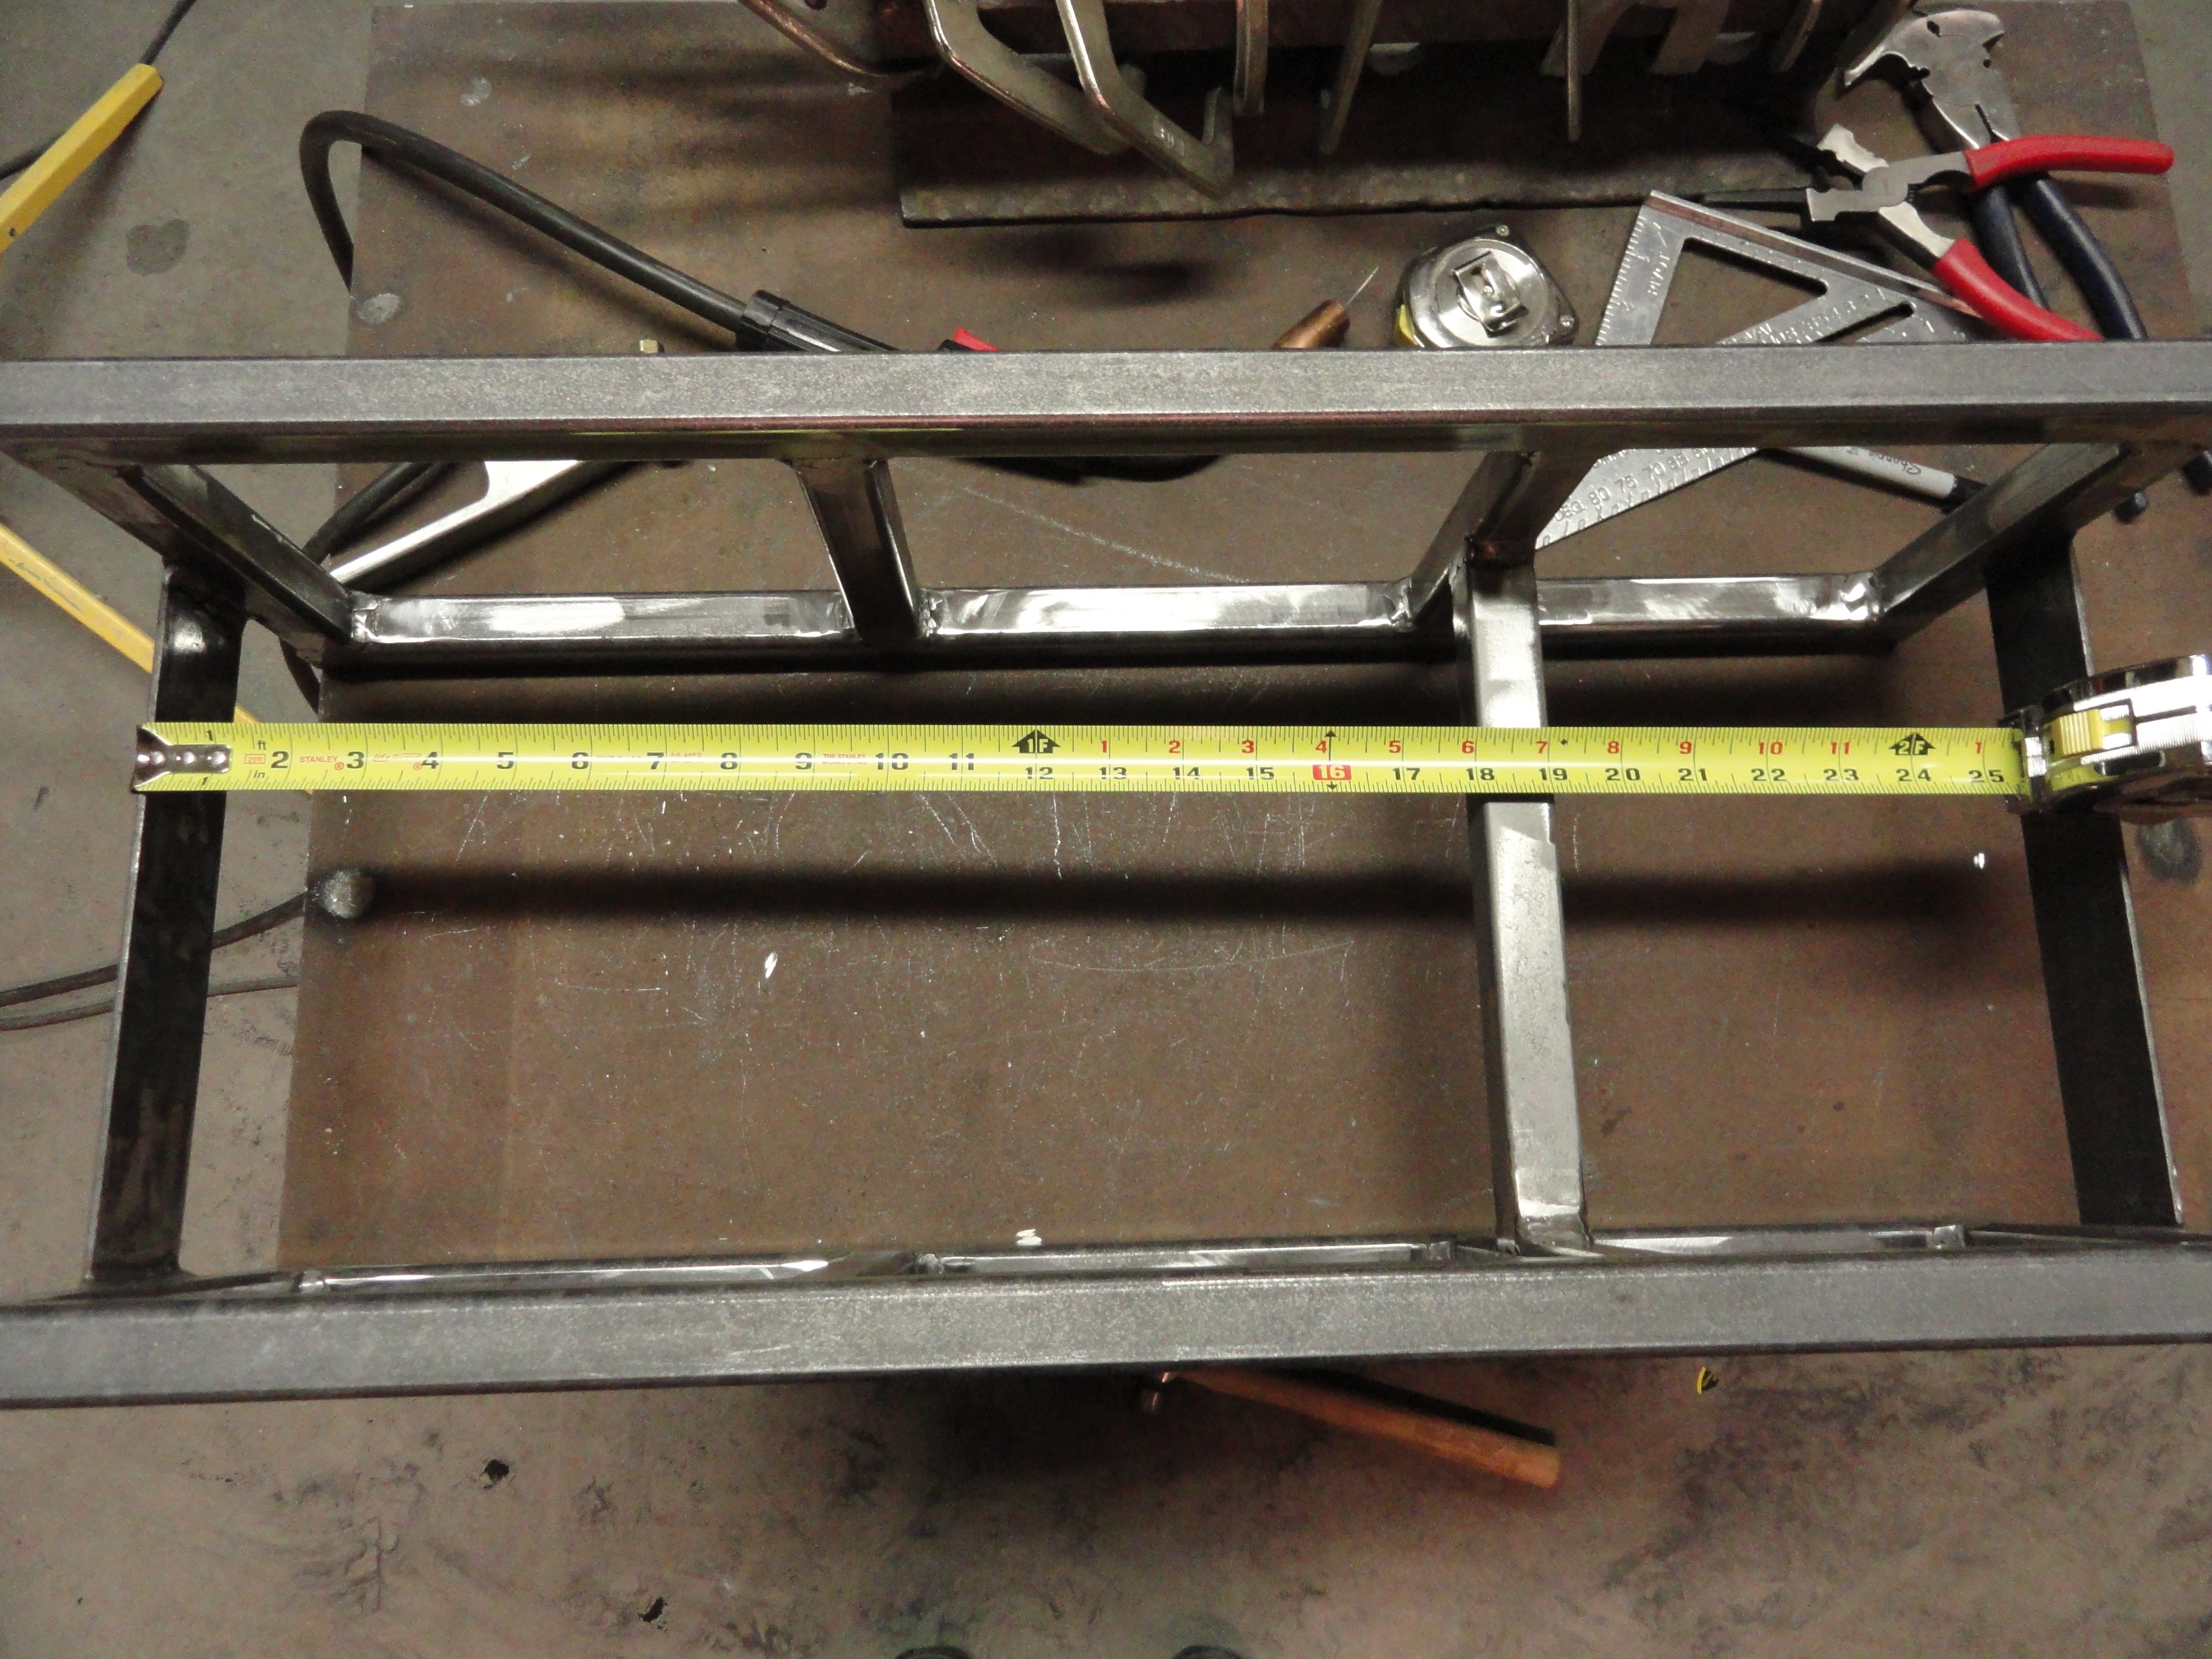
Place two of the 26-3/4" side rails on a flat table for welding. Place 4 of the 6-1/2" pieces inside and between the two rails like this: First one flush with the edge of the long rail and inside of it. Second one measure 6-3/4" from the first one (inside between them) Third one measure 8" from the second one (inside between them) Fourth one flush with the end rail and inside of it. (if you did it right, that gap also measures 8 inches)
Clean the mill scale and prepare the surfaces properly for welding. Do a really good job of welding these parts together because engines are heavy and you' do not want a safety hazard around your shop. Best to clamp the entire frame to a table to avoid warping. In the end, we want all the wheels to be on the floor! Once that is welded, make an exact duplicate for the other side. The 6-3/4" gap one is the front of the engine.
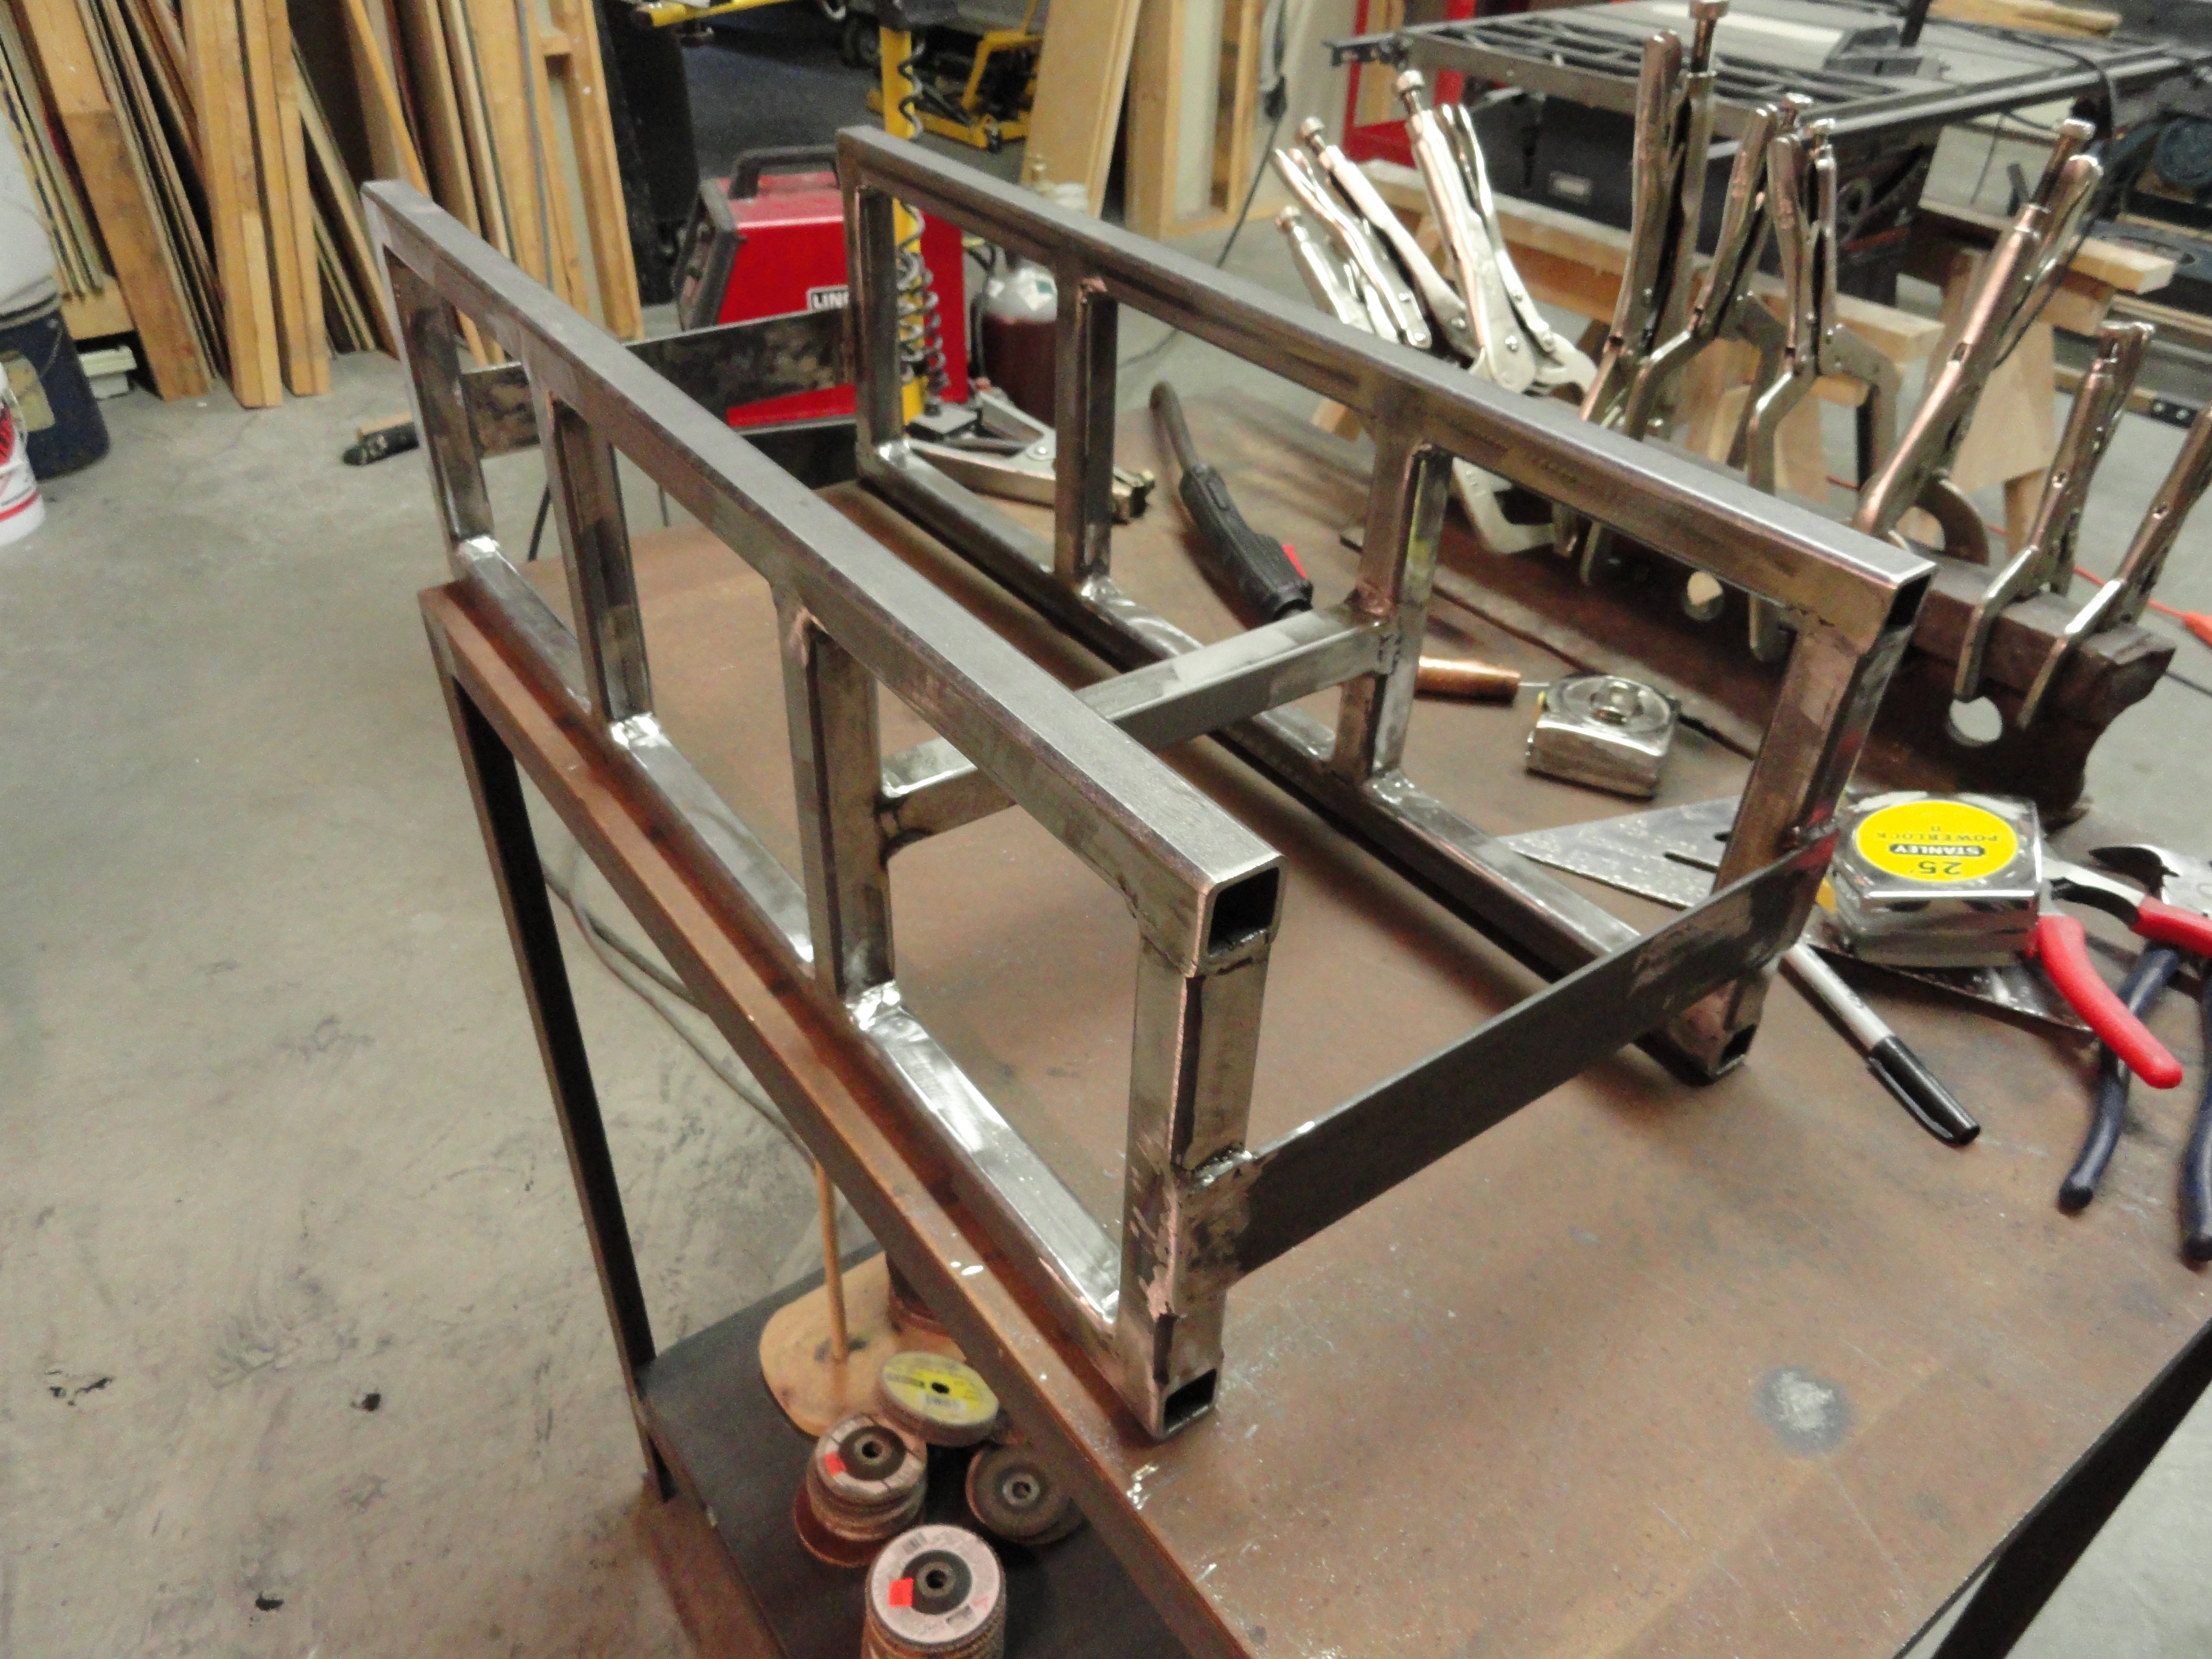
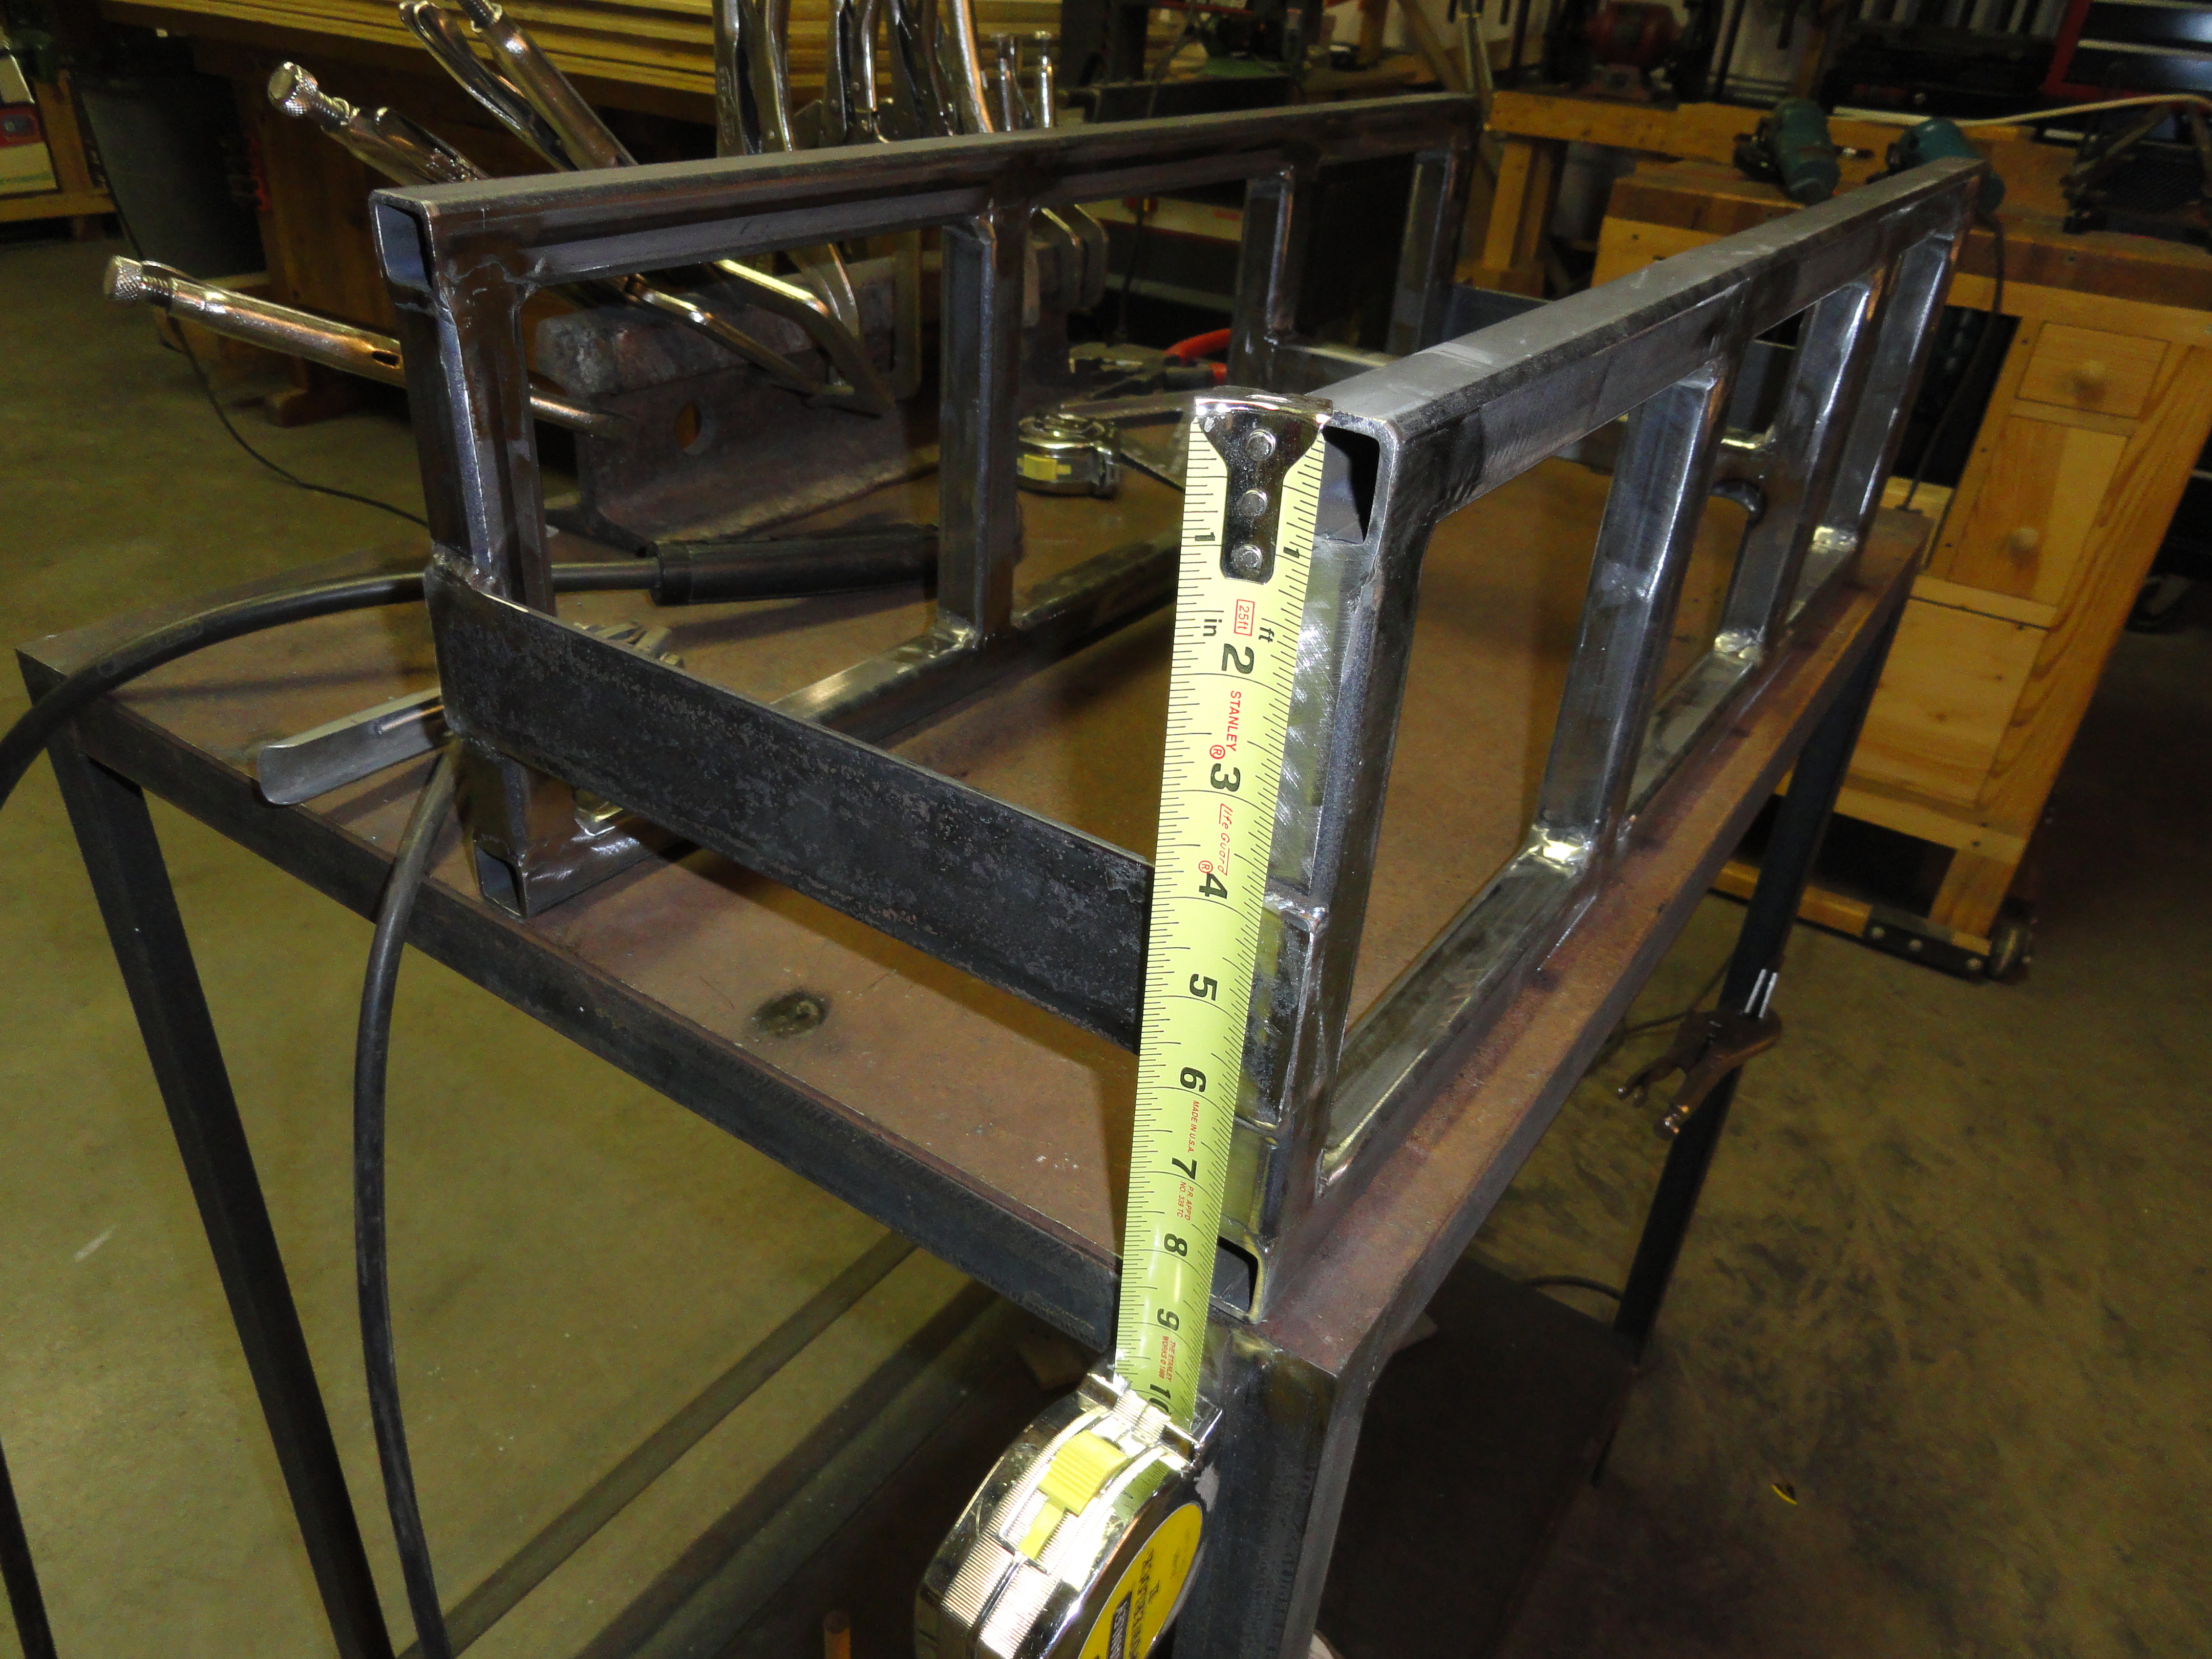
Orient the two frames so the 6-3/4" gapped end is across from each other. Set these frames on their sides 9-1/2" apart from each other. At this point we can refer to the top of the side frames. 4 inches down from the top, place a 2" by 11-1/2" steel plate across the frame. In other words, there is 4 inches of air space before the plate starts. Clamp that into place, then do the same on the back with another 2"x11-1/2" piece of plate. The last thing needed is the 9-1/2" square tubing piece. It goes on the second support (closest to the front of the cart) and 4" down. This will just barely miss the oil pan and give the entire cart more structural support. Once you have everything boxed in, you should be able to set a level across the whole thing and each side brace is 4" exactly from the top. Weld it following the above procedure and make sure everything stays square.
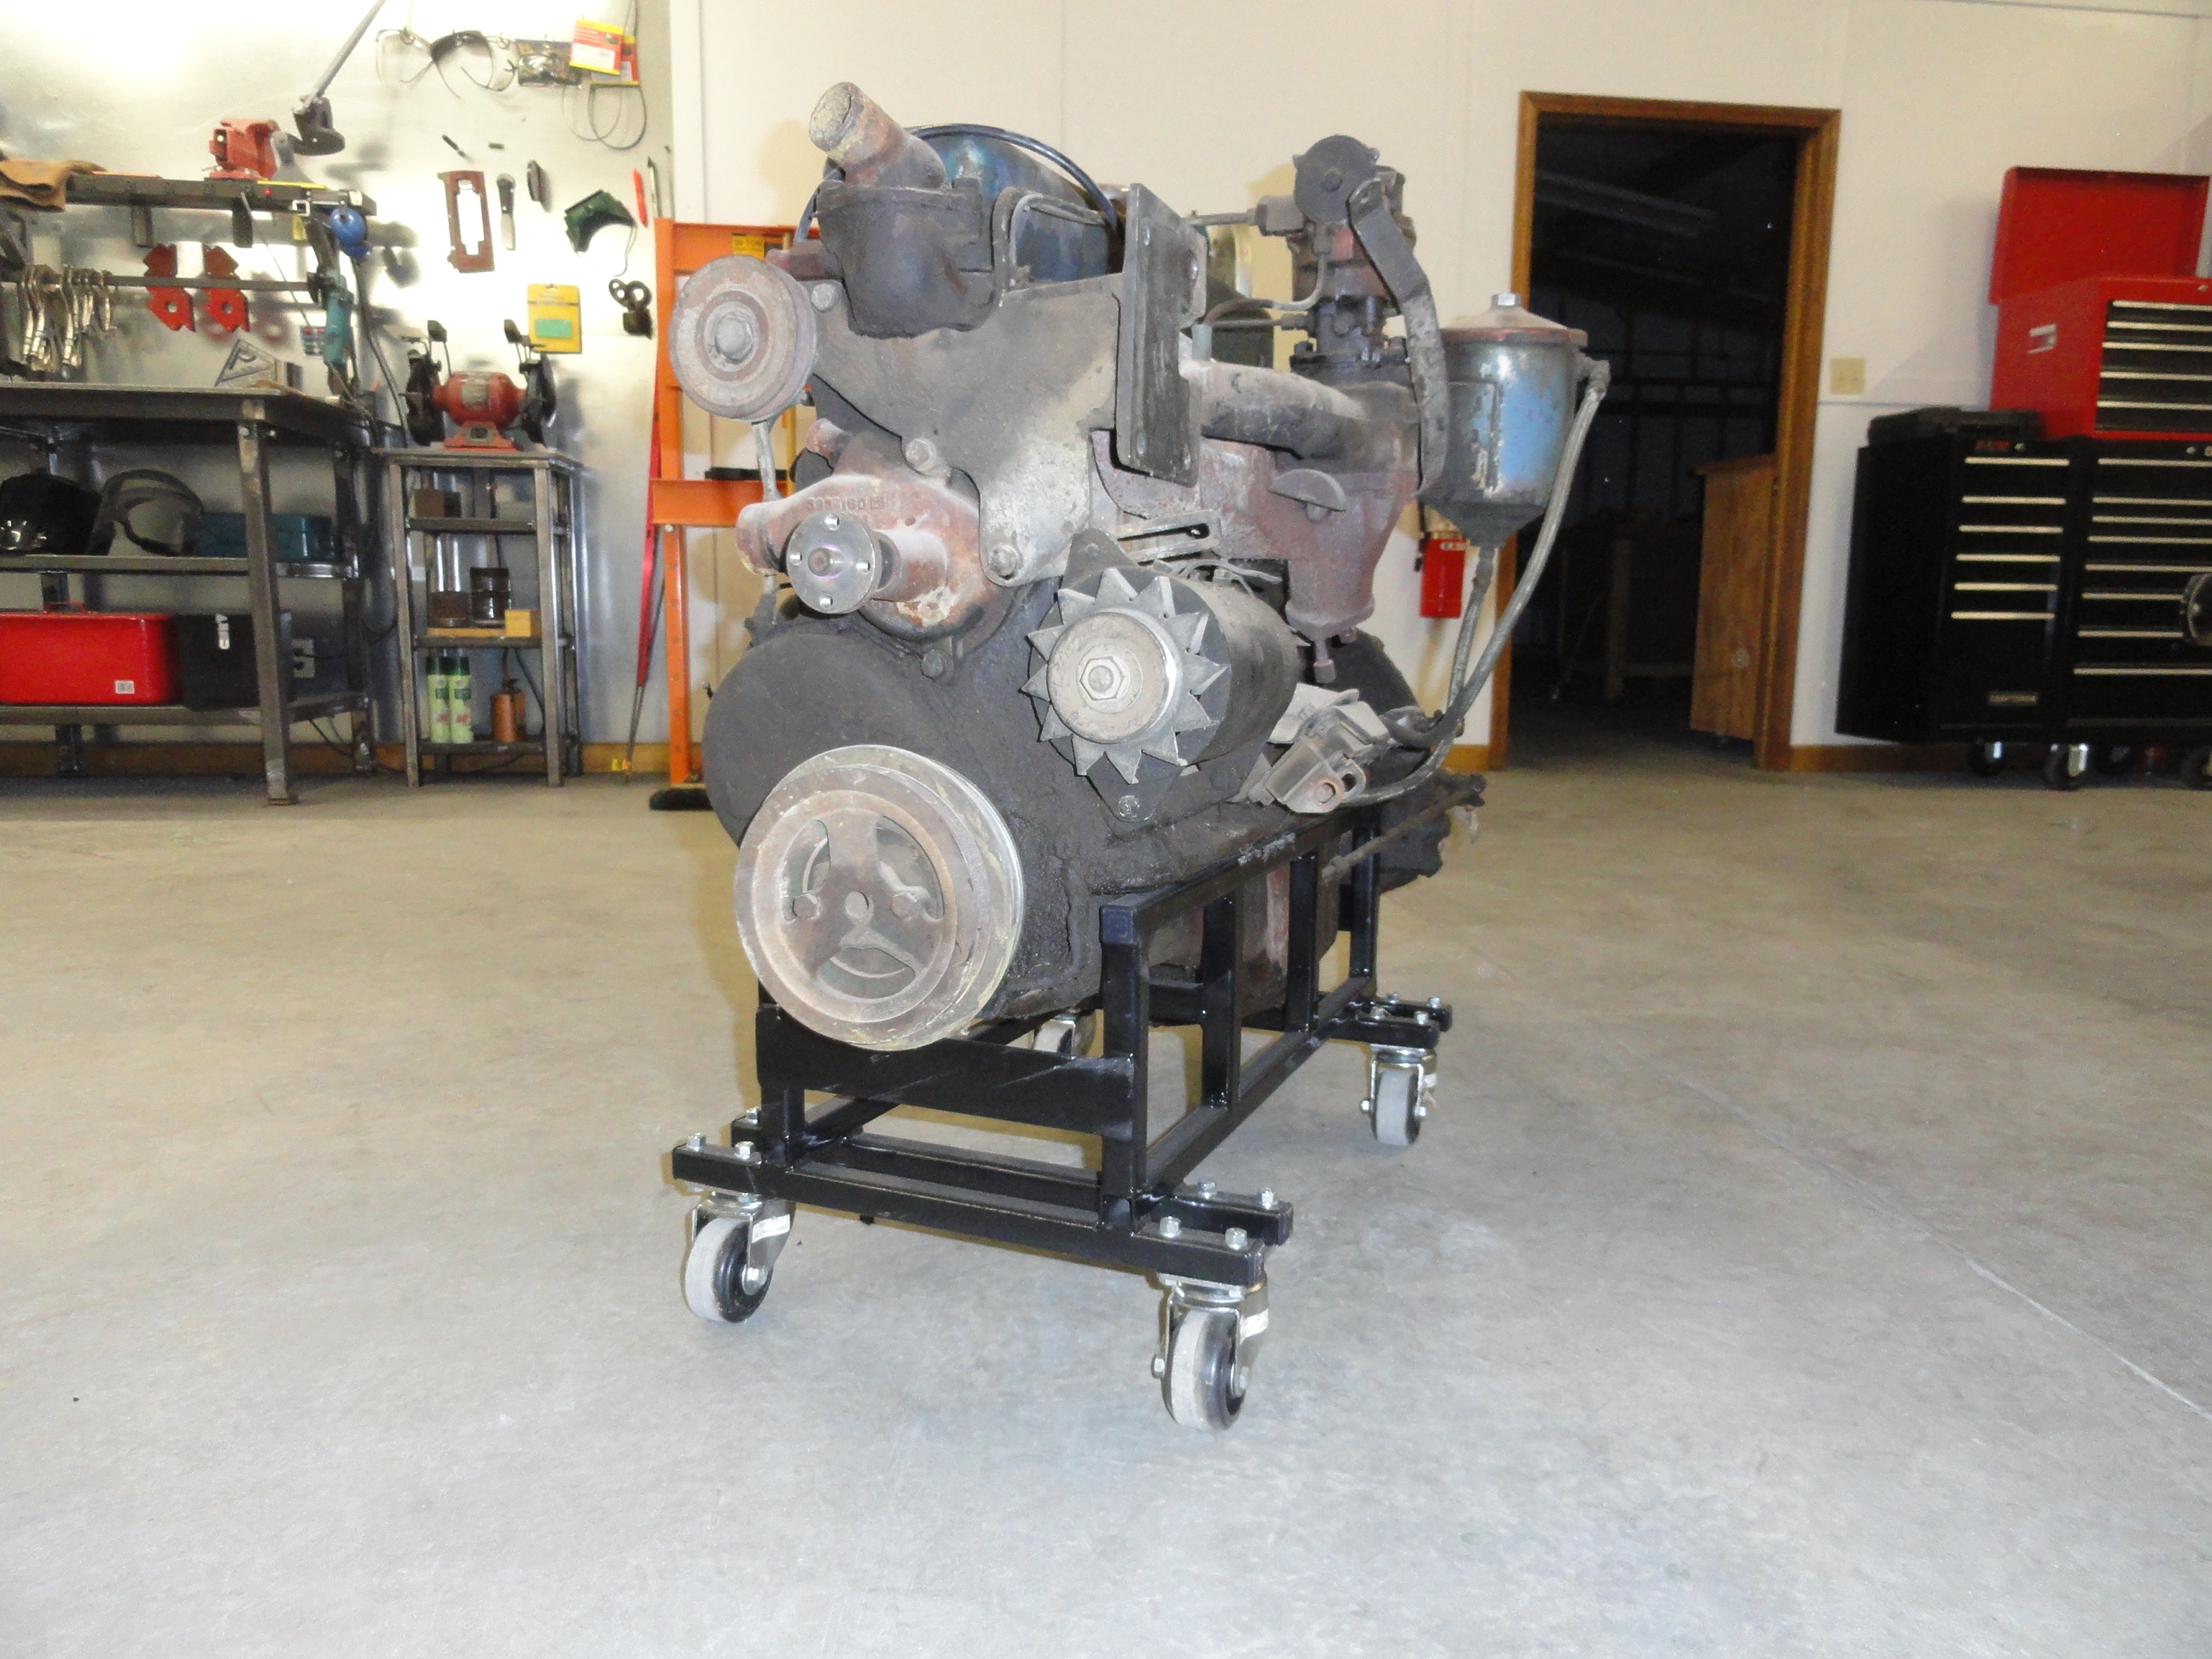
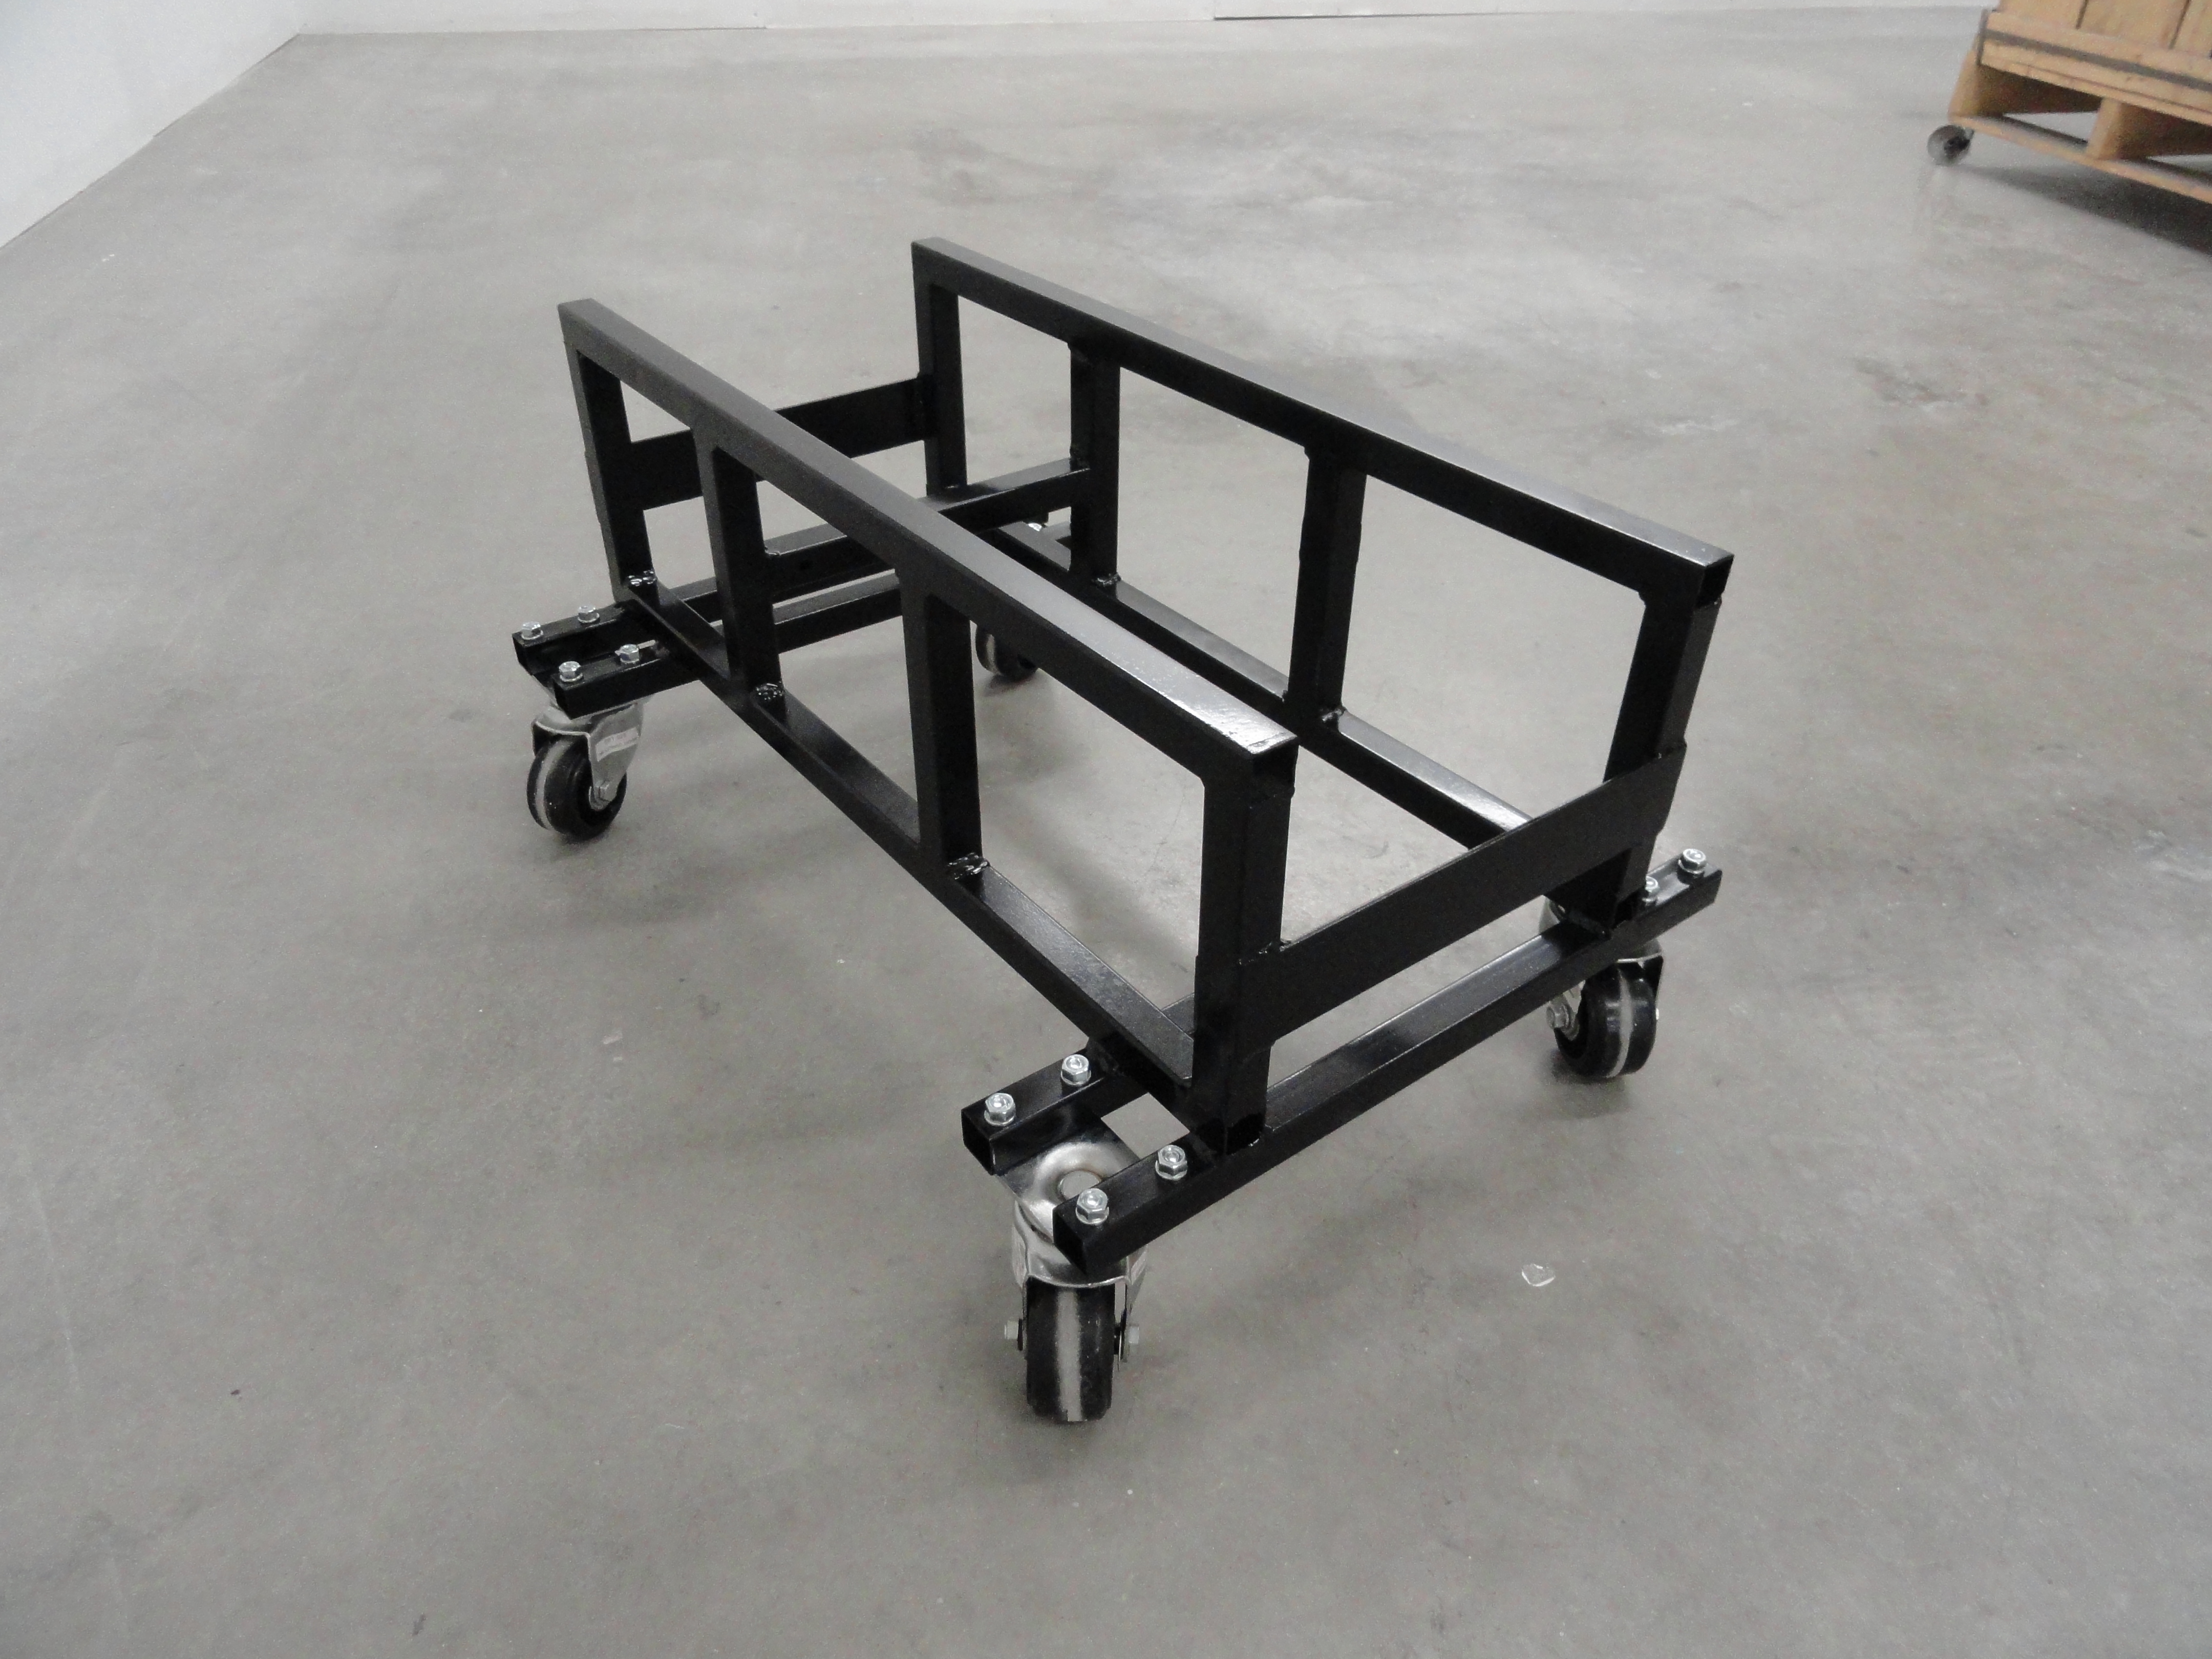
Turn the new box assembly upside down and lay the wheel assemblies across and to the very edge of the frame rails. The wheels being outside of the frame rails offer a wider stance and much smoother range of movement. Weld those into place following the above procedures, and the hard part is done. What I like to do to offer a bit of quality workmanship to the mix is make sure to use a flap disk and clean off all of the slag, grind any of the welding imperfections that bother me, and clean the entire piece for painting.
To finish the job, a rattle can coat of etching primer followed by some durable engine enamel, then cap the ends off with 1 inch caps. These caps are available at Amazon, and they go by the inside dimension. Now that wasn't so bad was it?